Now that you have already got your Starlink and you have set it up, you may feel that there are some problems going on with the network. For those problems to resolve, you will have to clear the obstructions. However, if clearing obstructions is not an option for you, Starlink mounting options are worth looking at.
Starlink mounting options are for everyone. It doesn’t matter if you stay in your own apartment or a rented house; you can choose the desired mount that suits your need and fix them on your roof. We have also discussed options for people who don’t even have a terrace or a proper roof. So, with that being said, let’s get started.
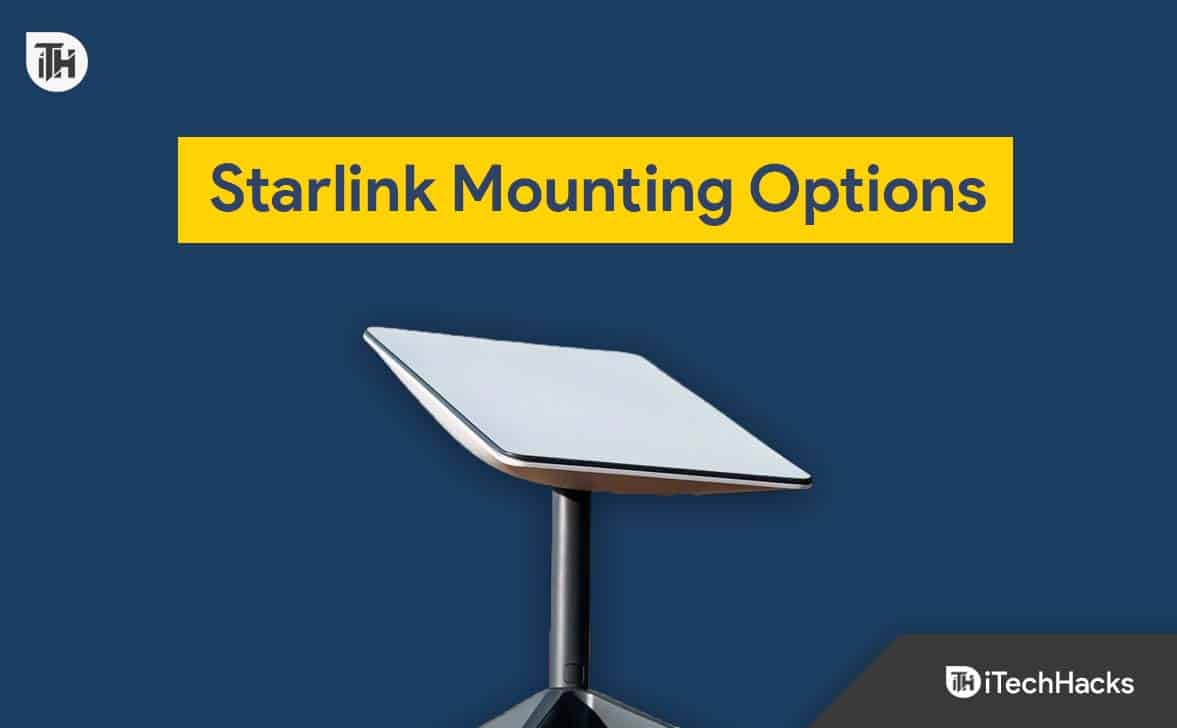
Starlink Mounting Options 2024
Here we will be discussing the several mounting options available for Starlink. Since Starlink Shop’s delivery and response time is longer than ever, we will be going with alternative products available on Amazon that work equally great.
But before that, you need to know what and where your obstructions are so that you can choose the perfect Starlink mounting option.
Where Are Your Obstructions?
In our Starlink Setup guide, we have clearly explained about the obstructions and how you can check them while setting the Starlink up. Now, once you have used Starlink for more than 12 hours, you will be able to see Statistics in the mobile app.
Now if you notice that the app is showing obstructions, you definitely need to look out for Starlink mounting options.
Satellite Dish Mounts that Work With Starlink
Here we will be discussing 7 different satellite mounts that will work flawlessly with your Starlink dish. However, make sure that you are good at DIY; otherwise, you may have to hire a contractor to get the job done.
1. J Mount – Overall, the Best Option
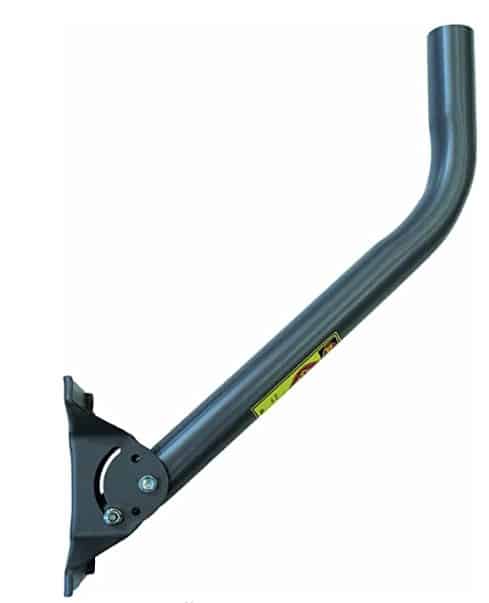
J-Mount is a great Starlink mounting option if you have any obstruction surrounding your house. These mounts can be found practically anywhere, won’t break the bank, and can be used in a wide variety of contexts.
It’s possible that you already have a J-Mount from using a different satellite TV provider, like Dish Network. Starlink is compatible with J-Mounts like the Winegard DS2000A shown above, which have a pipe diameter of about 1.5 inches.
Depending on which J-Mount you purchase, you may need to make a small adjustment so that it fits into the Starlink mounting tube. Using a mount adapter, such as the Winegard Universal Antenna Mount Adapter, is the simplest option.
Your J-Mount may require a spacer or a bolt to hold the Starlink mast in place, depending on its inside diameter. There’s no need for anything more than electrical tape.
2. Non-Penetrating Roof Mount
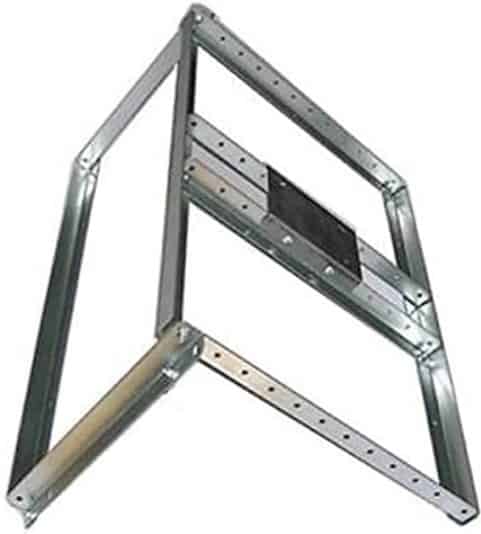
Some Starlink users may want to attach a mount to their roof for various reasons permanently. A Non-Penetrating Roof Mount seems actually to fix this purpose. These mounts, known as ridge line mounts, are not permanently attached to the roof, but rather are supported by weights such as sandbags or concrete blocks.
If you want to install the mount on the ridge of your roof line, you can go with EZ PNP Non-Penetrating Antenna Mast. Unfortunately, this mount doesn’t come with any mast. This means you will need a J-Mount or any other type of mount. We recommend using the Winegard DS2000A. This is very secure with standard concrete blocks.
You can go with the Easy-Up EZ NP-30-166 Non-Penetrating Roof Mount if you have a flat roof. Interestingly, it includes 1.6 inches OD mast, and this means you just need to slide your Starlink mast in it and secure it using U-bolts.
If you want to protect your roof from metal mounts, you will also have to purchase protective pitch pads that will sit under the roof.
3. Flashing Mount For a Professional Look
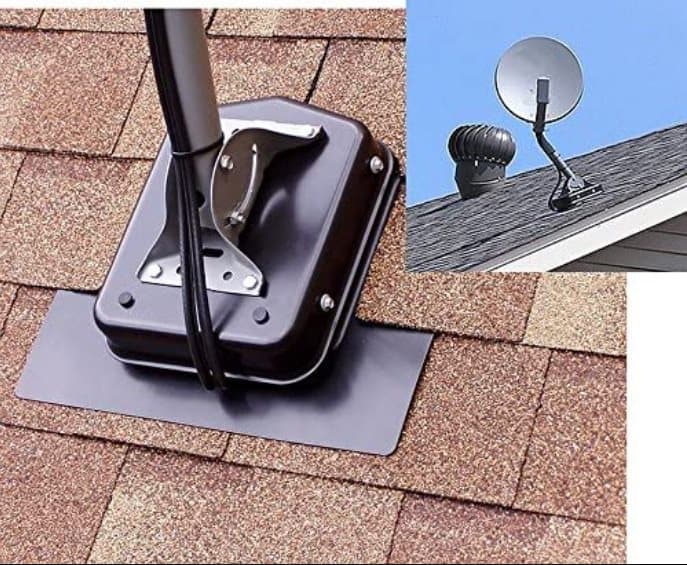
As you may already know, the most common location for installing a Starlink dish is on the roof. Therefore, flashing Mounts are the way to go for a secure and expertly-executed roof installation.
Installing a Flashing Mount beneath the shingles and securing it to the roof deck provides a robust and leak-proof seal. In addition to the Flashing Mount, an aftermarket J-Mount or Starlink Pivot Mount will be needed to attach the dish to the Flashing Mount during an installation.
Interestingly, Starlink sells its own Flashing Mount, but the aftermarket products are just better and cheaper.
You should consider purchasing a flashing mount if you live in a snowy region or in a region with a lot of rainfall. Flashing mounts don’t give you tension about roof leakage in the future. However, on the downside, installing it might be a bit expensive if you are not handy.
4. Tower Mount
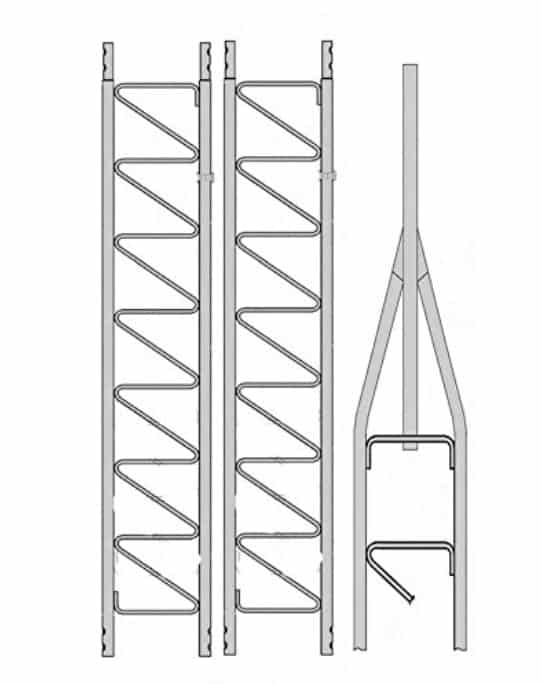
If there are many buildings nearby, it would be wise to mount the Starlink somewhere a bit far from the locality. But wouldn’t it be better if you could get a Tower right above your house? Well, the tower mount can do exactly that for a fraction of the cost of building an actual tower.
You should buy a tower mount if you have many houses nearby and they are interfering with the signal or showing as obstructions on the Starlink app. The best part of Tower Mount is that it sits way above everything else and can provide the best quality signal.
On the downside, if you live in a place with a lot of rain, chances are that your Tower mount, along with the Starlink dish, might get damaged. If there’s slight rain, there’s no problem going for Tower Mount.
5. Tripod Mount
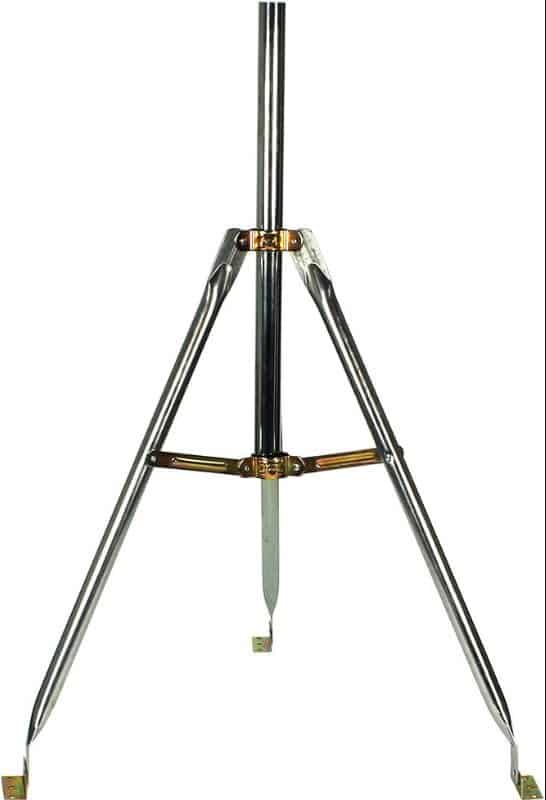
As you may have seen with a handheld camera, a tripod mount is similar to that. Only you cannot mount a camera in it.
The tripod mount is an excellent option if you wish to have a portable Starlink without paying for portability. This is just a portable Starlink in disguise because you will be able to carry the Dish inside and outside of the house, not somewhere else.
Furthermore, a tripod mount is perfect for areas where height is a concern and if the roof arrangement is improper. Also, if your area receives lots of rainfall and snow, you take the tripod inside your home for protection from the mount and Starlink. You can consider a tripod mount to be a jack of all trades.
6. Pole Mount
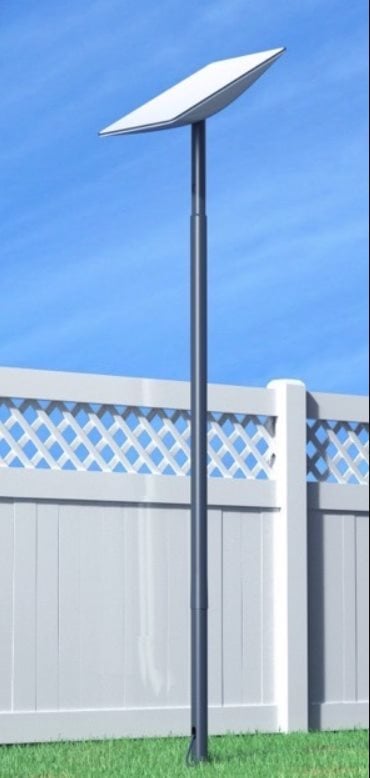
If you have a backyard at your home and there aren’t a lot of trees, it would be the best option to install a Pole Mount. This is an excellent option if you live on rent and don’t want to employ the roof. It is also an option if people are living above your house.
You can purchase a Pole Mount from Starlink. Or, you can also get your own Pole from Amazon with a diameter of 1.5” or 2”, depending on your preference. Ensure a pipe adapter that Starlink sells in its own online shop.
7. Chimney Mount
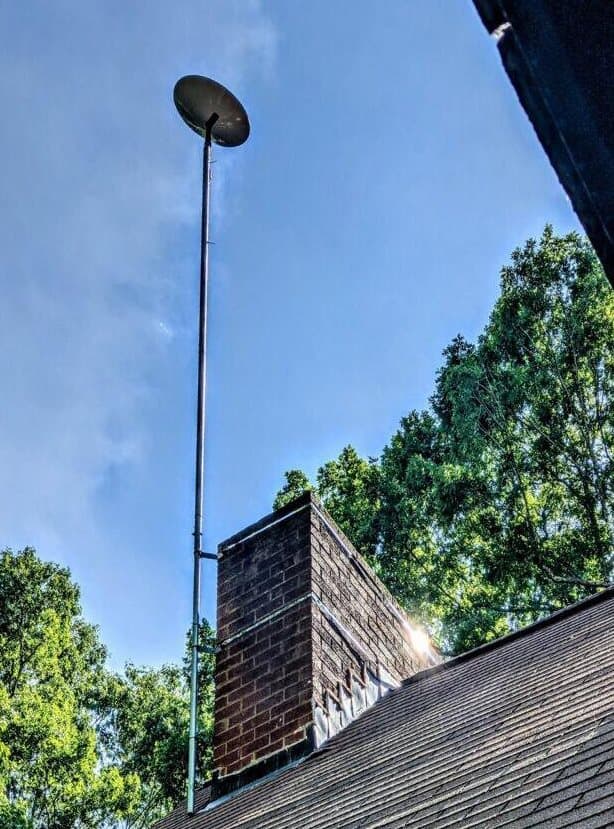
As the name suggests, the chimney mount attaches your Starlink dish to the chimney. As we all know, the Chimney is situated above the house. The height remains the same for the overall neighboring areas. As a result, mounting your Starlink Dish on the chimney can be beneficial if there are houses beside you but not covering the chimney area.
However, the Chimney mount has its own downsides, like it may get dark with time due to carbon deposits and oil coming out of the chimney. Further, if you live in an area where there’s snow, it will get deposited on the Starlink dish and disrupt your connectivity. The installation is far more difficult than other mounts discussed above.
Starlink Dish Tips for Optimal Positioning
We have already covered a detailed guide about the optimal position of Starlink dish in our Starlink Dish placement guide. However, for the unknowns, we recommend that you place the Starlink at a position where it is not below 15 degrees and not above 40 degrees.
Furthermore, ensure there are no obstacles around as that can create obstructions. For that, you can check the Starlink mobile app. However, for the app to function properly, you have to log in using your credentials. Please read the guide mentioned above for full information regarding this process.
The Bottom Line
Well, these are the best Starlink mounting options you have as of now. We will update this guide if we ever find more Starlink mounting options. Please let us know in the comments section which Starlink mount you are buying.
RELATED GUIDES:
- How To Buy, Sell, And Transfer Used Starlink Dish
- Why Are My Starlink Speeds So Slow and How to Improve it
- How To Switch Starlink From Residential to RV
- How to Update Starlink Firmware 2024 Latest Version List
- Starlink Down: Is Starlink Down Right Now | Starlink Outage
- How to Factory Reset Starlink Router
- How to Stow Starlink 2024: Guide to Stowing Your Starlink