These days users are worried about their privacy and data very much. Everyone is working on protecting their data from hackers so that they don’t have to suffer any loss. The companies developing applications and providing users with services are also working on implementing new features to help the users keep their data safe. Windows 11, one of the new operating systems that Microsoft has developed, also comes with a feature to protect the user’s data.
The developers of Windows have always tried to make it more secure and better than the previous Windows version. They have also done it with Windows 11. In Windows 11, users get the Memory Integrity feature which helps protect their data. But on checking, the users have found that the Memory Integrity is off, and they don’t know how to turn it on. We are here with the guide where we will list the steps through which you can turn on the Memory Integrity on your Windows 11.
What is Memory Integrity in Windows 11?
Many Windows users still don’t know about the Memory Integrity feature, which is provided in Windows 11. As the users don’t know about the feature in deep, they do not understand its importance and how it can help protect the data on Windows 11.
Many users have checked that the Memory Integrity is off on their system, and they don’t care about it, as they think it is a default setting provided in Windows 11. But for the users who don’t know, the Memory Integrity is enabled by default on the device. However, some users have reported that it keeps turning on or off on Windows 11.
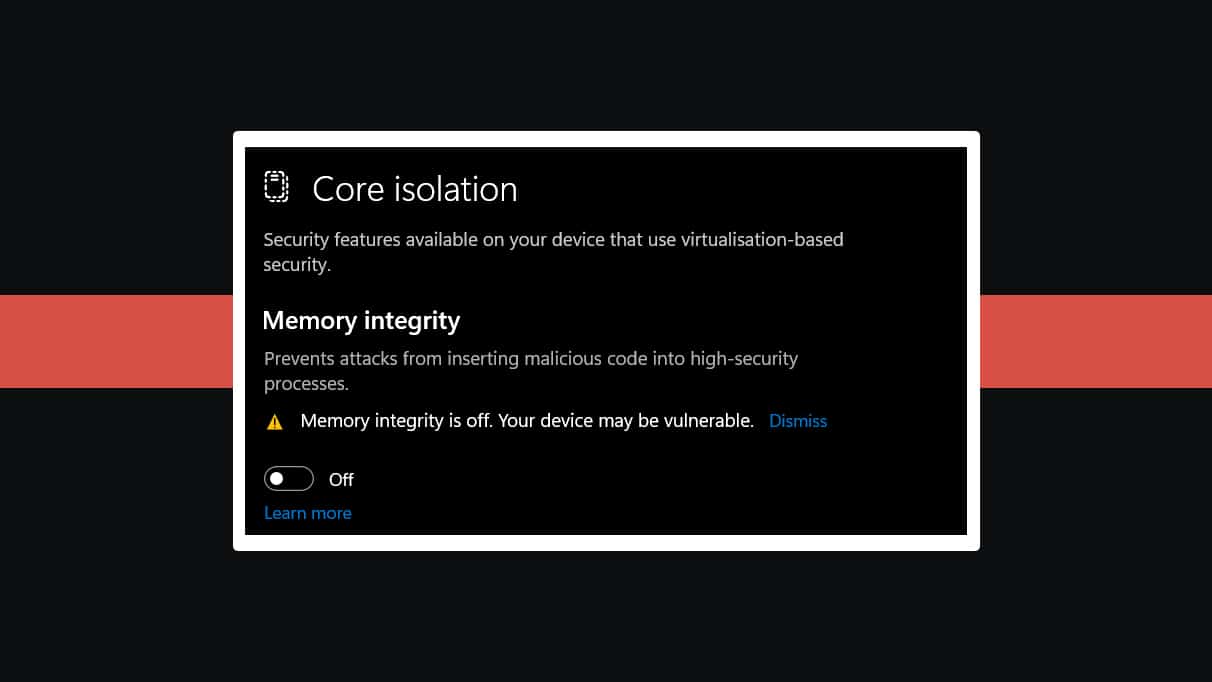
Before listing the steps to turn on the memory integrity in Windows 11, we will explain it. Memory Integrity is a protective wall that keeps stopping malicious activities with your low-level drivers. There are a lot of drivers who are working on our system, like Mice, Keyboards, Bluetooth, etc. All of them can be easily hacked by hackers, and that’s why they always target these types of drivers.
As hacking is easier with the low-level or external drivers in your system, Windows 11 comes with the Memory Integrity feature. It helps protect the drivers working on our system by stopping any malicious activities from happening.
The Memory Integrity also blocks the untrusted drivers from running on your system through which your data is safe from hackers. But what if the Memory Integrity is off on your system? Are the data on your system safe? Obviously No. We are here with the steps you must follow again to turn on the Memory Integrity on your system.
Fix Memory Integrity Turning ON or OFF on Windows 11
We know that you are now looking for the steps to fix the Memory Integrity is Off feature on Windows 11. There are various reasons available through which Memory Integrity is off on your system. However, you don’t have to worry about it; we will be listing out the steps through which you will be able to resolve the problem easily.
Enable From Registry Editors
One of the first things you can try to fix the issue is enabling it from the Registory Editors. You may be unable to enable the Memory Integrity directly from its settings for various reasons. Thus, enabling it from the registry editors might help resolve the problems. To fix the Memory Integrity is off from the Registry Editors, you have to follow the steps which are listed below.
- First of all, open “regedit”
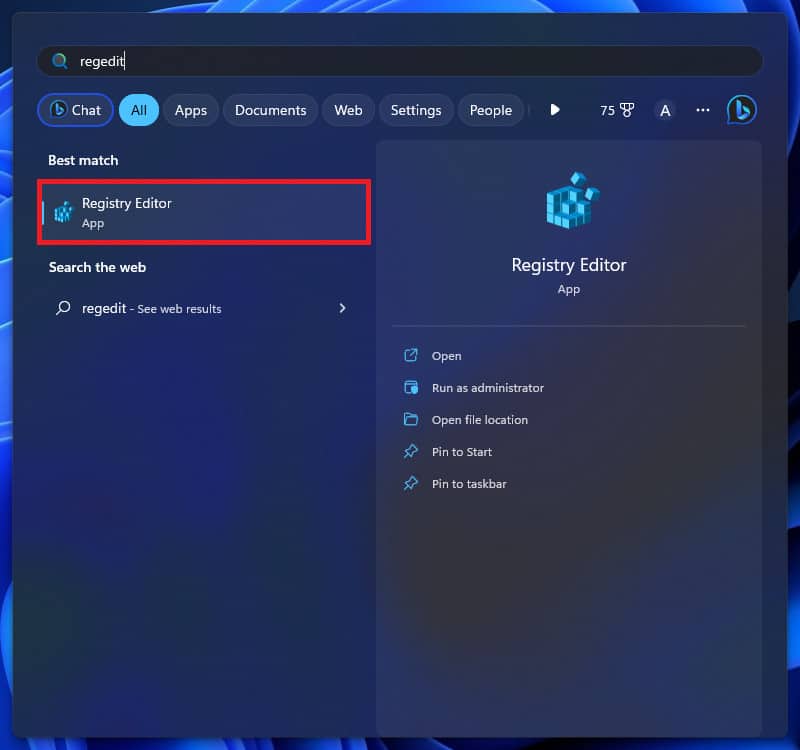
- Press Enter and wait for the Registry Editor to get opened.
- Go to the following location:
Computer\HKEY_LOCAL_MACHINE\SYSTEM\CurrentControlSet\Control\DeviceGuard\Scenarios\HypervisorEnforcedCodeIntegrity
- After it, click on Enabled and set the value to 1.
- Close the Registry Editor and restart your system to save the changes.
Look For Incompatible Drivers
The main reason behind the “Memory Integrity is off” is the incompatible drivers that are unsupported or not good for your system. You have to uninstall those drivers from your Windows to turn on the Memory Integrity. To look for incompatible drivers on your system, you have to follow the steps which are listed below.
- Open Start Menu and type Memory Integrity.
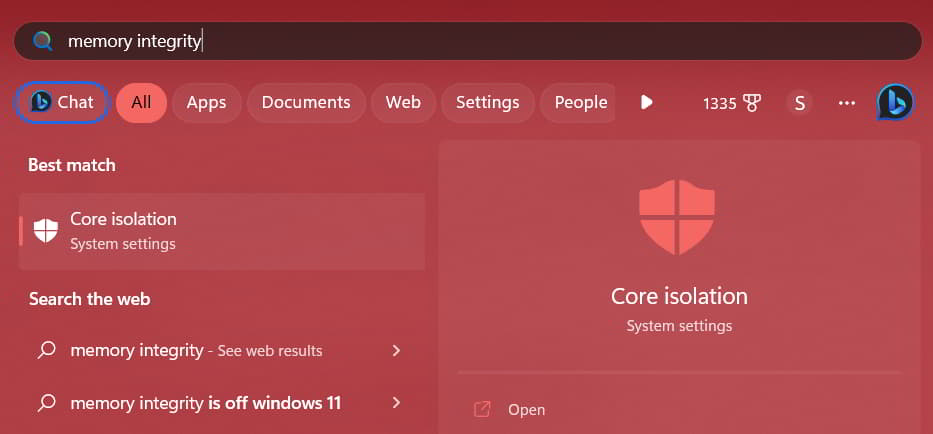
- Click on Core Isolation.
- Now, you will be redirected to the page.
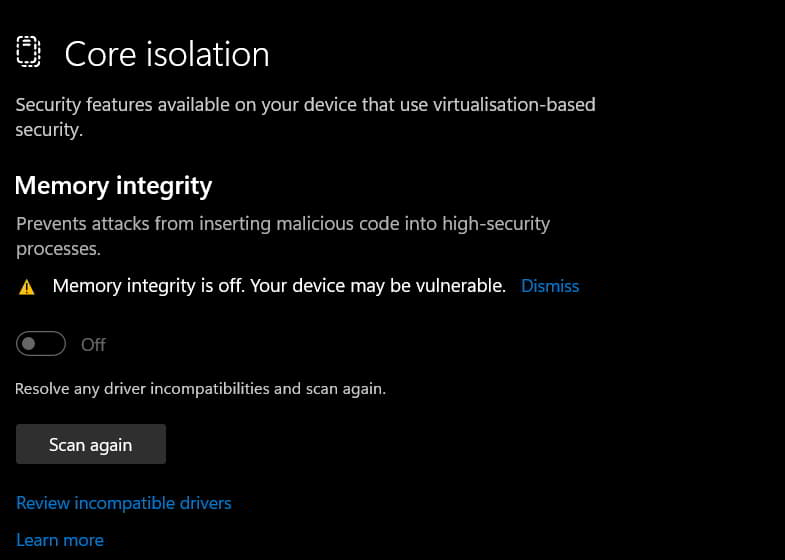
- Click on Review Incompatible Drivers.
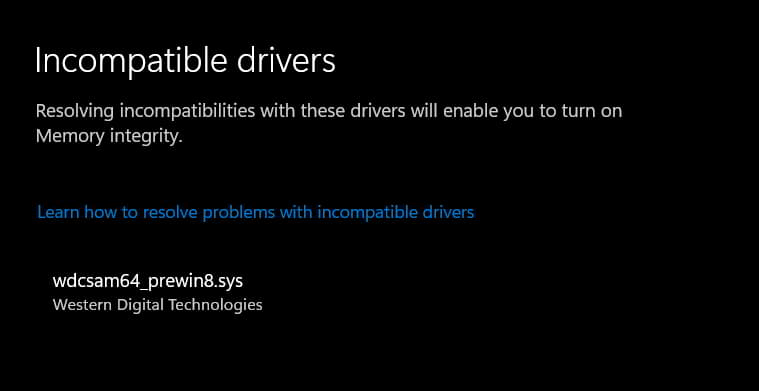
- The list of the drivers will be shown on the screen.
- After it, go to the Device Manager.
- Search for that particular driver.
- Right-click on the driver.
- Select Uninstall Driver. After it, restart your system and again repeat the first four steps.
- Now, check whether there are more Incompatible Drivers.
- After it, try turning on the Memory Integrity.
Reset The Security App
You can also reset the Windows Security app on your system to resolve the Memory Integrity issue. Sometimes the Windows Security app also causes issues turning on the Memory Integrity feature. It might happen due to various reasons. Thus, you have to follow the steps which are listed to reset the Security App on your PC.
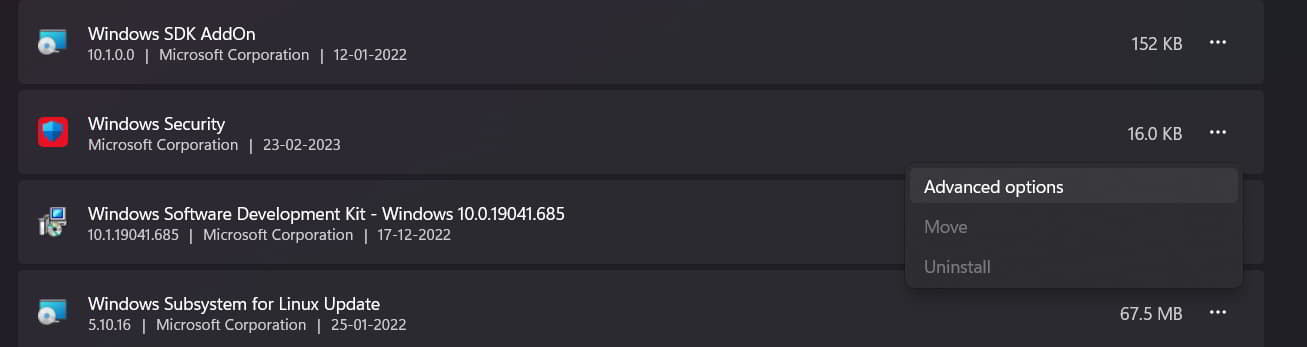
- First of all, open the Apps from Settings.
- Now, go to Installed Apps.
- Search for the Windows Security app.
- Click on Advanced Options.
- Scroll down and select the Reset option.
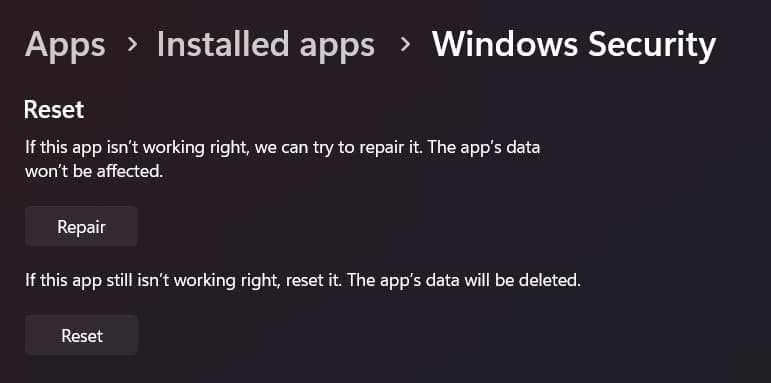
- After it, wait for the process to get completed.
- Restart your PC to save the changes, and try enabling the Memory Integrity again.
Use The System File Checker Tool
Windows comes with the tool System File Checker, which scans all the system files for any issues due to which the system is not running properly or facing some issues. To use the System File Checker Tool, you have to follow the steps which are listed below.
- Open Start Menu and start the Command Prompt in the Administrator Mode.
- You have to type the command, which is listed below.
DISM.exe /Online /Cleanup-image /Restorehealth
- Press Enter and run the command.
- Now, run the below command.
sfc /scannow
- Wait for the command to get executed. That’s it.
Uninstall Several Related Apps
There are chances that the Memory Integrity is not turning on due to some apps installed along with the driver. We suggest you uninstall all those apps related to the incompatible driver you found in the Core Isolation. You have to look for the apps from the Control Panel related to it and uninstall them. Once you have done this, restart your PC and check whether the issues have been resolved or not.
Check For Windows Update
Users who have not updated their Windows for a long time should check for the updates of Windows. The developers are constantly releasing Windows Update to make Windows 11 better for the users. But as you have not updated it, the issue of not working Memory Integrity is likely occurring with you. We suggest you check for the Windows update and download the latest update if any are available. Once you have done this, try to enable the Memory Integrity again.
Wrap Up
Many users tried turning on the Memory Integrity on their Windows 11. However, they could not do so due to various issues with Windows 11. In this guide, we listed the ways through which you will be able to fix the issue of Memory Integrity is off. We have also explained Memory Integrity in the post. We hope that it will help you understand the feature properly.
ALSO READ:
- Fix Desktop Window Manager Dwm.exe Windows 11 High CPU Issue
- How to Fix NVIDIA Control Panel Not Showing in Windows 11
- How To Fix Ethernet Not Working in Windows 11
- How To Turn On/Off Windows 11 Start Menu Animation
- How to Enable Windows 11 Microsoft Edge Efficiency Mode
- Windows 11 Won’t Boot? Ways To to Get PC Boot Again
- Windows 11 Start Menu Not Working: Here’s How To Fix?
- How To Stop Windows 11 From Using So Much Data
- Fix Windows 11 Multi Monitor Taskbar Not Working Properly