The OpenJDK Platform Binary is a collection of tools used for developing and running Java applications. There are times, however, when users of Windows 10/11 have a high CPU usage issue due to OpenJDK Platform Binary. Here, we will explain possible causes and provide solutions for this problem.

What Causes High CPU Usage by OpenJDK Platform Binary?
It can consume substantial amounts of CPU resources to execute Java code since OpenJDK Platform Binary does so. It may use a high amount of CPU for several reasons, including:
- Outdated version: Using an outdated version of OpenJDK Platform Binary could result in high CPU usage since the outdated version may contain bugs that use more CPU power.
- Incompatible applications: There may be applications that are incompatible with OpenJDK Platform Binary, which leads to a high CPU load.
- Corrupted files: OpenJDK Platform Binary may consume more CPU resources when corrupted files are present.
- Malware infection: Infections with malware may increase the CPU usage of OpenJDK Platform Binary.
- Memory leaks: A memory leak in the Java Virtual Machine (JVM) can lead to more CPU usage in OpenJDK Platform Binary.
How to Fix OpenJDK Platform Binary High CPU on Windows 10/11?
There are several solutions that can help you resolve this problem if OpenJDK Platform Binary is consuming a large amount of CPU.
Update OpenJDK Platform Binary
It has been noted that running an outdated version of OpenJDK Platform Binary may cause high CPU usage. It may therefore be beneficial to update to the latest version in order to resolve the problem. To get started, follow these steps:
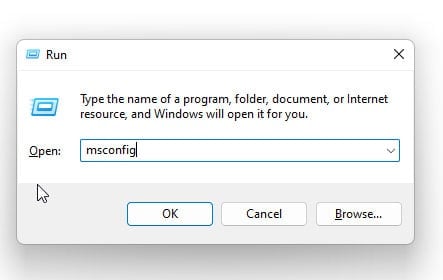
- Initially, on your keyboard, press the Windows key + R to open the Run dialog box.
- To open Programs and Features, type appwiz.cpl and press Enter.

- Right-click OpenJDK Platform Binary in the list of installed programs and select Uninstall.
- From the official website, you can download and install the latest version of OpenJDK Platform Binary.
Check for Incompatible Applications
It has been mentioned previously that some applications may not be compatible with OpenJDK Platform Binary, resulting in high CPU usage. Here are the steps you can follow to check for incompatible applications:
- Initially, on your keyboard, press the Windows key + R to open the Run dialog box.
- Thereafter, enter msconfig to open the System Configuration window.
- Make sure the Hide all Microsoft services box is checked on the Services tab.
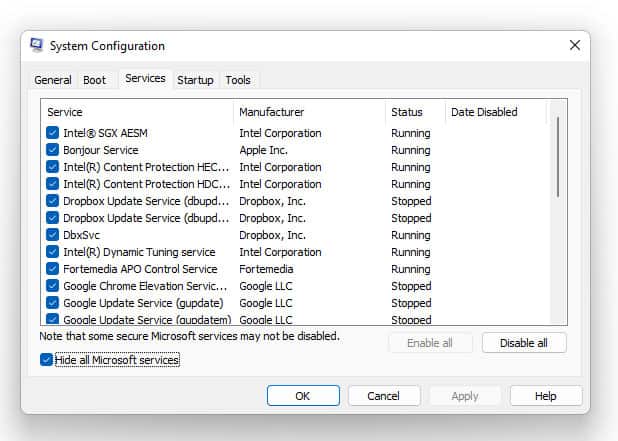
- Uncheck all third-party services associated with Java or OpenJDK Platform Binary.
- Using the Startup tab, disable Java or OpenJDK Platform Binary startup items.
- You can check if the high CPU usage issue has been resolved by restarting your computer.
Repair Corrupted Files
OpenJDK Platform Binary can consume more CPU resources due to corrupt files. Using these steps, you can fix corrupted files:
- Initially, to open the Run dialog box, press Windows key + R.
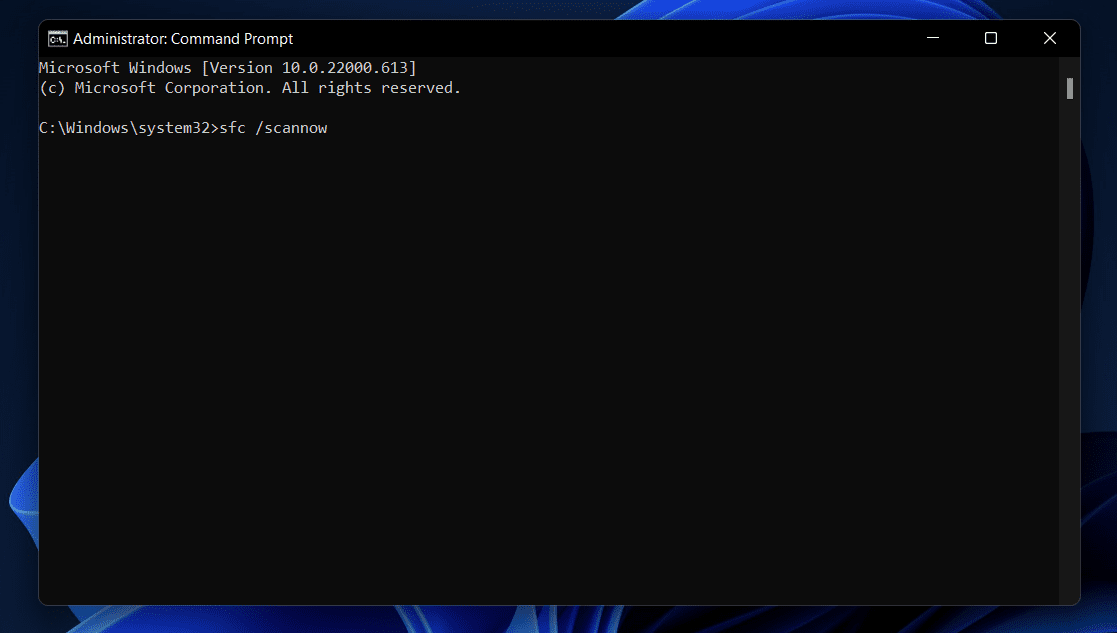
- Using the keyboard shortcut Ctrl + Shift + Enter, open the Command Prompt.
- Enter the following command: sfc /scannow
- You will need to restart your computer once the process is completed.
Scan for Malware
OpenJDK Platform Binary can consume more CPU resources as a result of malware infections. Here are the steps you need to follow in order to scan your computer for malware:
- Install an antivirus program such as Avast, Norton, or McAfee.
- To check for malware infections, run a full system scan.
- To remove any malware detected by your antivirus software, follow the instructions provided by it.
Check for Memory Leaks
There is the possibility that memory leaks can occur within the JVM and cause OpenJDK Platform Binary to consume more CPU time. Here are the steps for checking for memory leaks:
- Press the Ctrl + Shift + Esc keys on your keyboard to open the Task Manager.
- Go to the Performance tab and select Memory.
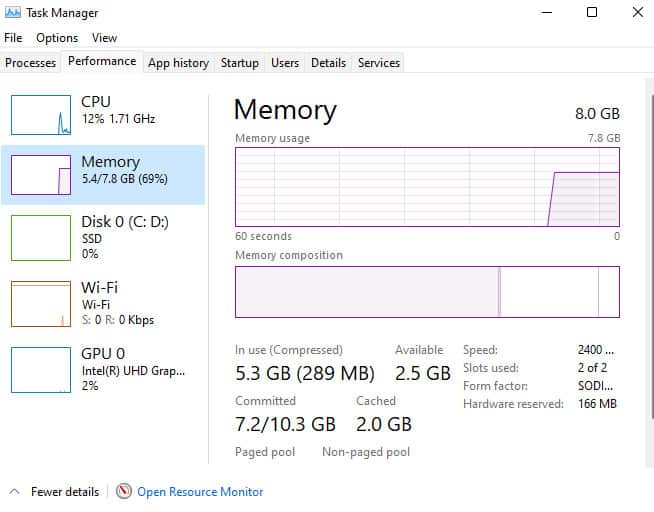
- Make sure the memory usage is increasing over time. There may be a memory leak if it is.
- Type “Java” in the Windows search bar and select Configure Java to open the Java Control Panel.
- Choose Disable Explicit GC from the Advanced tab.
- Then click the Apply button and restart your computer.
Increase the Heap Size
Basically, the heap size is how much Memory is allocated to the application by the JVM. There is a possibility that it will use more CPU resources if the heap size is insufficient. You can increase the heap size by following these steps:
- In the Windows search bar, type “Java” and select the Configure Java option to open the Java Control Panel.
- Click the View button under Java Runtime Environment Settings on the Java tab.
- In the Runtime Parameters box, type -Xmx1024m. Sets the heap size to 1024MB. It depends on the specifications of your system and whether you want to increase or decrease the value.
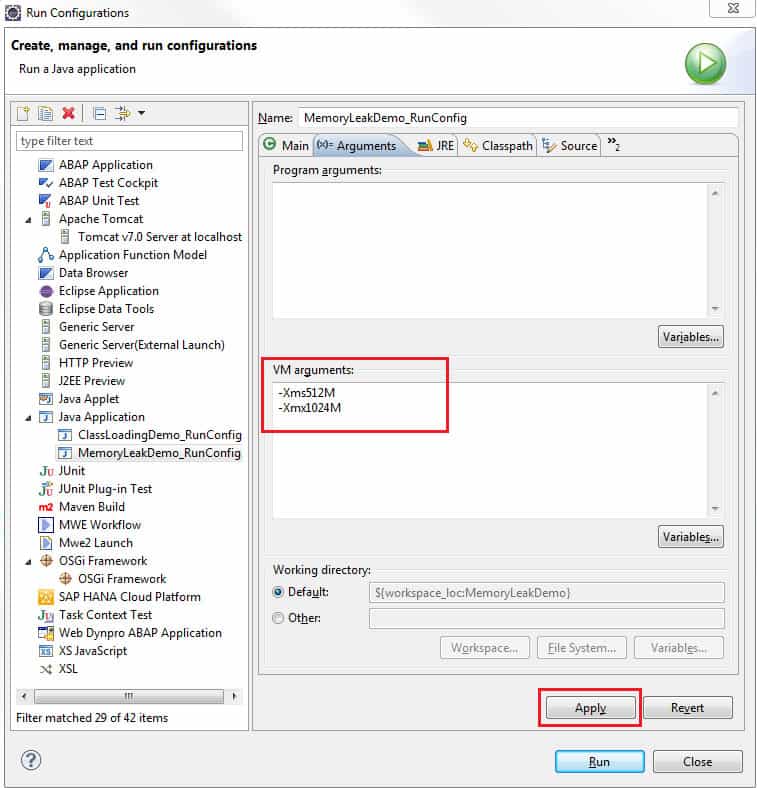
- Then click the Apply button and restart your computer.
Disable Java Quick Starter
In order to improve Java application startup time, the Java Quick Starter preloads Java files in the background. In addition, it can also lead to high CPU usage. Follow these steps to disable Java Quick Starter:
- In the Windows search bar, type “Java” and select Configure Java to open the Java Control Panel.
- On the Advanced tab, select Miscellaneous.
- Uncheck the box next to Java Quick Starter and click on the Apply button.
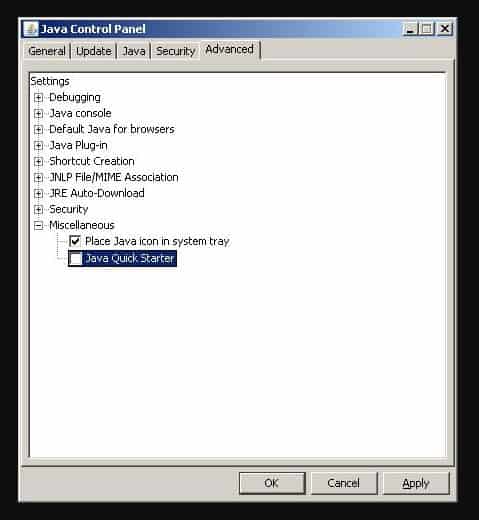
- Then, make sure your computer is restarted.
Disable Java Automatic Updates
In Java Automatic Updates, updates are downloaded and installed automatically. It can, however, cause high CPU usage. You can disable Java Automatic Updates by following these steps:
- In the Windows search bar, type “Java” and select Configure Java to open the Java Control Panel.
- Select the Update tab and uncheck Check for updates automatically.
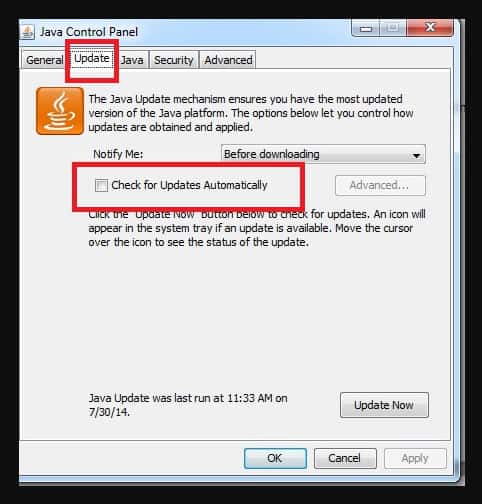
- Then click the Apply button and restart your computer.
Conclusion
You should use OpenJDK Platform Binary when developing and running Java applications. In the meantime, it can affect your computer’s performance by using a lot of CPU power. It was discussed in this article why this might be happening and what can be done about it.
Regardless of whether you have tried these solutions, it is recommended that you seek professional help from a computer technician if you are still experiencing high CPU usage by OpenJDK. So, that’s how to fix the this issue. It is my hope that this guide has been helpful to you. Meanwhile, if you need more information, please let us know in the comments below.
ALSO READ:
- How to Fix Killer Network Service High CPU Usage
- How To Fix Modern Setup Host High CPU in Windows 11
- Fix Adobe CEF Helper.exe Causing High CPU In Windows PC
- What Is LSASS.EXE? Fix Lsass.exe High CPU Usage Issue Windows 11
- How To Fix Print Spooler SubSystem App High CPU Usage
- Fix Desktop Window Manager Dwm.exe Windows 11 High CPU Issue
- Disable Software Reporter Tool in Chrome High CPU Usage
- Disable Antimalware Service Executable for High CPU Fix