Are you constantly getting “You have a New Message” by Gmail notification on your iPhone’s Lock Screen? but find no new messages upon checking? This common yet mysterious issue can disrupt your day and affect your productivity. In this guide, we’ll explore various methods to fix this problem, ensuring your Gmail notifications work seamlessly with your iPhone by seeing the preview on the lock screen.
Imagine this: You’re in the middle of something important, your phone buzzes with a Gmail notification, and you think, “Ah, that must be the email I’ve been waiting for!” But nope, it’s just your phone crying wolf. Again. This isn’t just a one-off thing; it’s happening to a bunch of us iPhone users out there. Whether you’re a busy professional waiting on that crucial business email, a student on the lookout for university correspondence, or just someone who likes their inbox notifications as accurate as a Swiss watch, this glitch can throw a real spanner in the works.
How to Fix You have a New Message’ Gmail Notification on iPhone
Force Restart Your iPhone
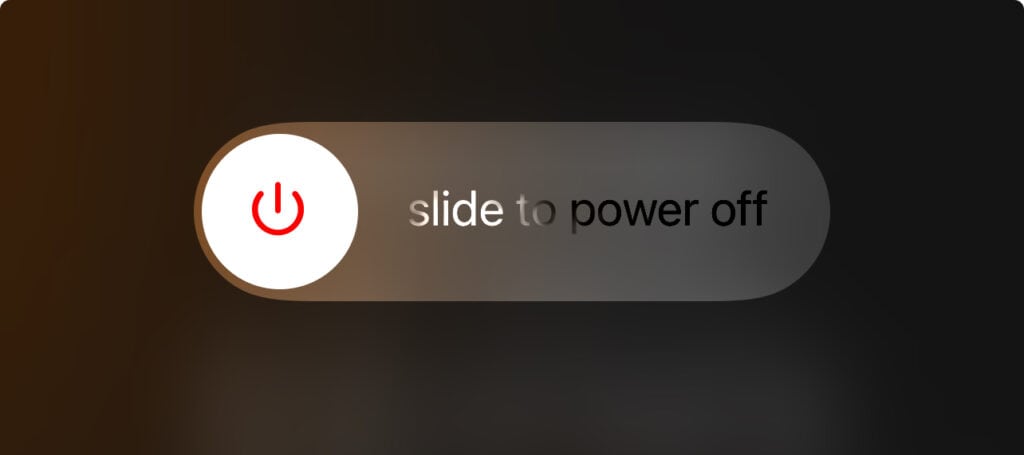
A force restart can be a quick fix for various issues, including the persistent ‘You have a New Message iPhone’ notifications when there are no new emails. This method refreshes your device’s memory and can resolve minor glitches.
- For iPhone 8 or later: Press and quickly release the Volume Up button, then the Volume Down button. Next, press and hold the Side button until you see the Apple logo.
- For iPhone 7 and 7 Plus: Press and hold both the Volume Down button and the Sleep/Wake button. Release both buttons when the Apple logo appears.
- For iPhone 6s and earlier: Press and hold both the Home button and the Sleep/Wake button. Release both buttons when the Apple logo appears.
Check Notification Previews Settings
If your notification previews settings are not configured correctly, it might lead to the ‘You have a New Message iPhone’ notification popping up unexpectedly. Adjusting these settings can help ensure that notifications only appear when there are new messages.
- Access Settings: On your iPhone, open ‘Settings‘.
- Navigate to Notifications: Scroll down and select ‘Notifications‘.
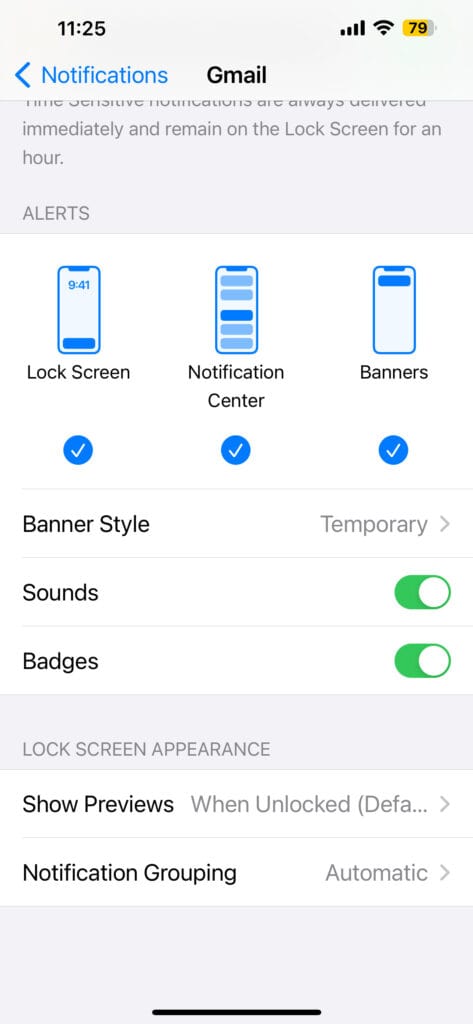
- Tap on Show Previews: Ensure that ‘Show Previews’ is set to ‘Always‘ or ‘When Unlocked’, based on your preference. This ensures that notification previews are displayed correctly.
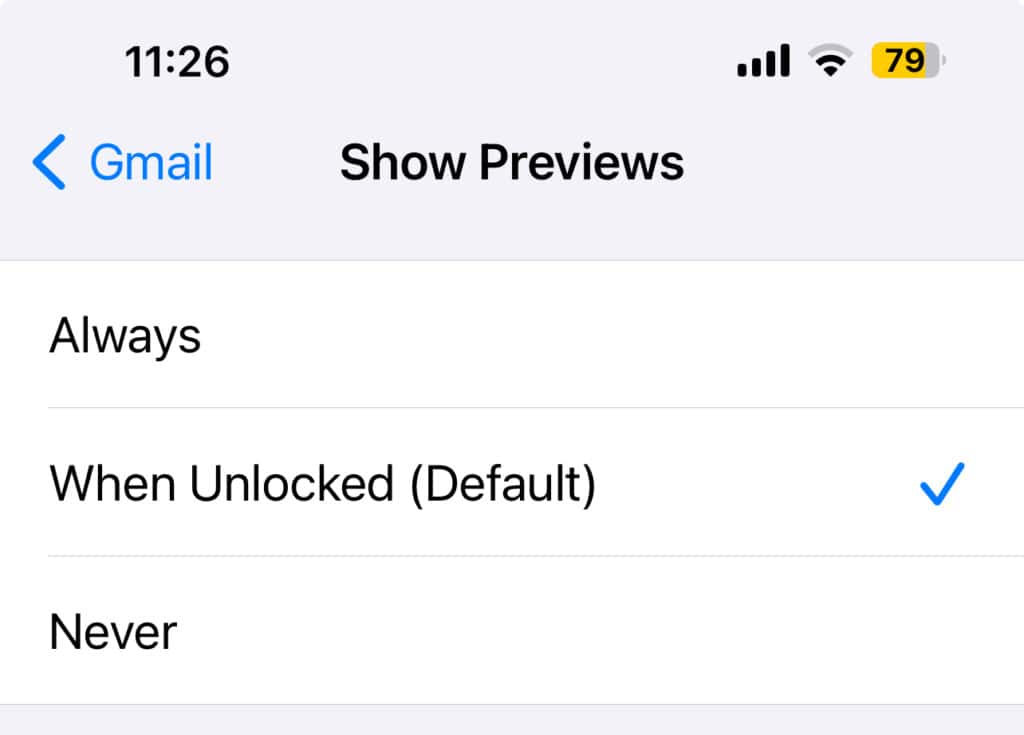
Refresh Your Notification Settings
Sometimes, the simplest solutions are the most effective. If you’re plagued by ‘You Have A New Message Gmail Notifications’ but find no new emails, it might just be a hiccup in your notification settings. iPhones, bless them, can sometimes get a bit mixed up, especially after an update or app installation.
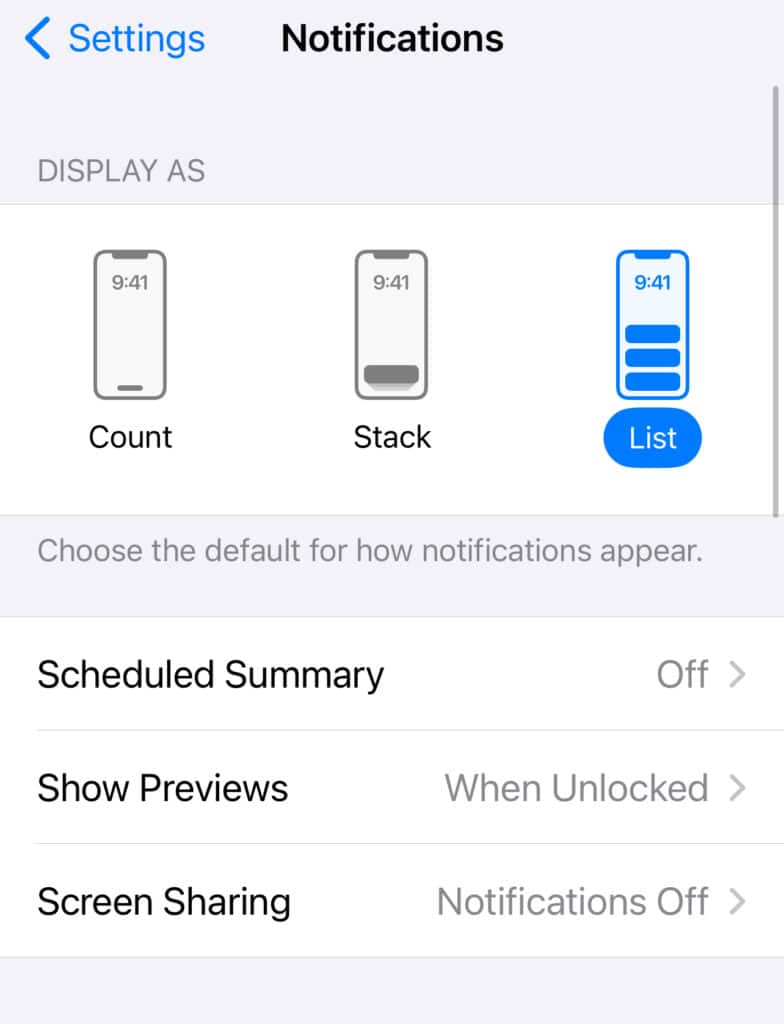
- Head to Settings: On your iPhone, tap the ‘Settings‘ icon. It’s the one that looks like a gear.
- Navigate to Notifications: Scroll down and find ‘Notifications’. Give it a tap.
- Find Gmail: In the list of apps, locate ‘Gmail‘. Tap it to open the notification settings for Gmail.
- Toggle and Retoggle: See the ‘Allow Notifications’ option. Toggle it off and then back on. It’s like giving your phone a gentle nudge to reset.
- Customize Your Preferences: While you’re here, make sure the notification style suits your needs. Choose banners, sounds, badges – whatever floats your boat.
Update Your Gmail App
Outdated apps can act all sorts of weird, and Gmail is no exception. If ‘You Have A New Message Gmail Notifications’ keep popping up erroneously, it might be time to give your Gmail app a fresh update. App developers constantly tweak things to squash bugs and improve performance.
- Open App Store: Tap on the App Store icon on your iPhone.
- Head to Updates: Click on your profile icon at the top right, then scroll to ‘Available Updates’.
- Update Gmail: Find Gmail in the list. If there’s an update available, you’ll see an ‘Update’ button next to it. Tap it and let the App Store do its thing.
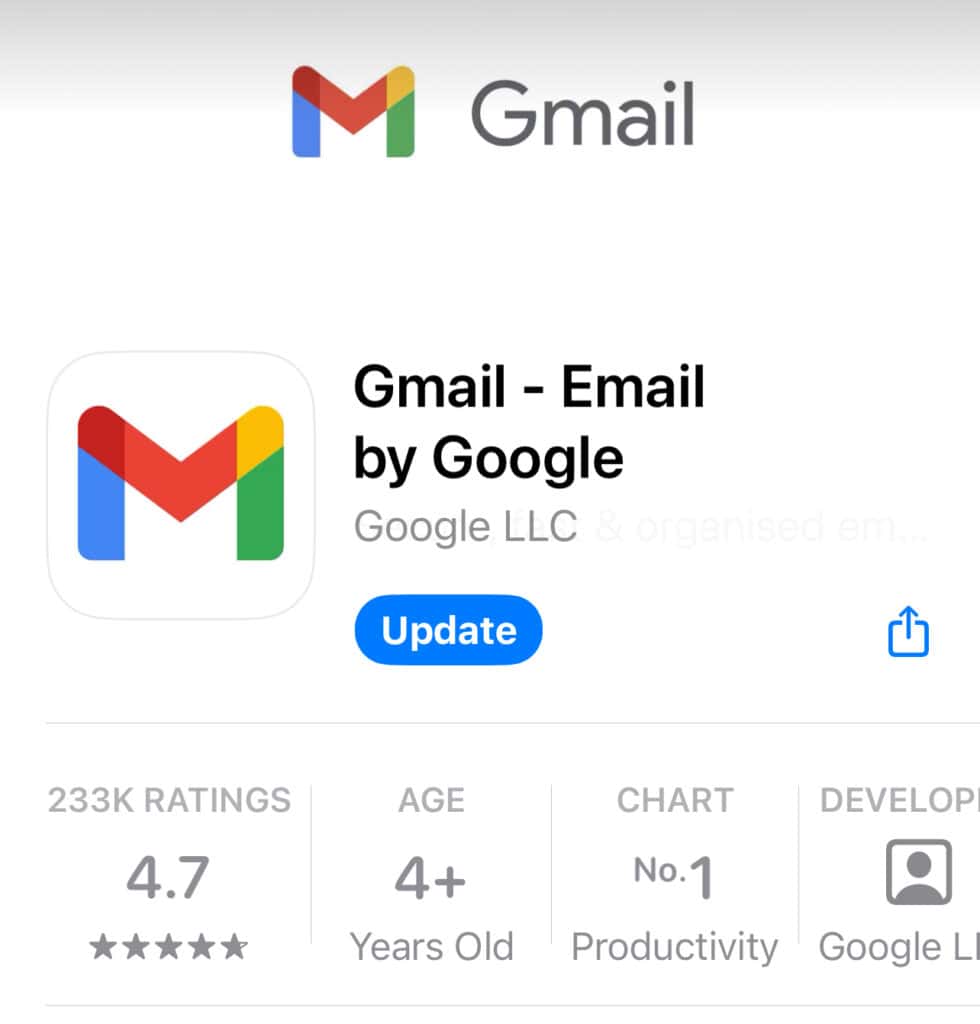
- Restart Gmail: Once updated, open Gmail. Sometimes, a quick restart of the app can make all the difference.
Reinstall the Gmail App
If updating didn’t do the trick, let’s try a clean slate. Reinstalling the Gmail app can clear out any corrupted data that might be causing the ‘You Have A New Message Gmail Notifications’ error. Think of it as a fresh start for your app.
- Uninstall Gmail: Press and hold the Gmail app icon on your home screen. Tap ‘Remove App’ and confirm.
- Reinstall Gmail: Head back to the App Store, search for Gmail, and tap ‘Install’.
- Log Back In: Once reinstalled, open Gmail and log back into your account.
Reset Network Settings
Network issues can sometimes affect how your iPhone receives data, including email notifications. If ‘You Have A New Message Gmail Notifications’ keep showing up without new emails, resetting your network settings might just be the answer.
- Go to Settings: On your iPhone, open ‘Settings’.
- General Settings: Scroll down and tap on ‘General’.
- Reset Network Settings: Scroll to the bottom and find ‘Reset’. Tap it, then choose ‘Reset Network Settings’. This will reset your Wi-Fi networks and passwords, cellular settings, and VPN and APN settings.
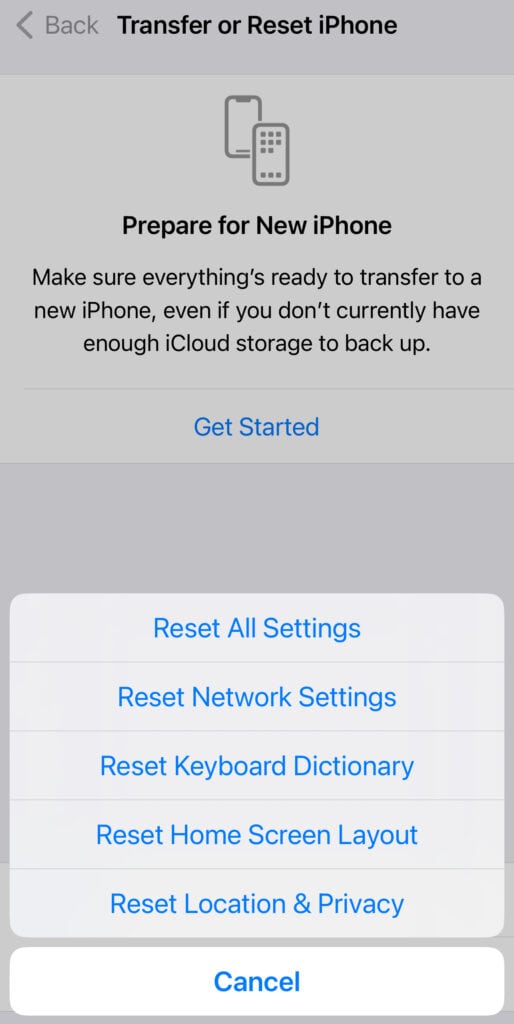
- Reconnect to Wi-Fi: After the reset, reconnect to your Wi-Fi network and check if the issue persists.
Check for iOS Update
Outdated iOS versions can sometimes cause notification issues. Ensuring your iPhone is up to date can help resolve the ‘You have a New Message iPhone’ notification error.
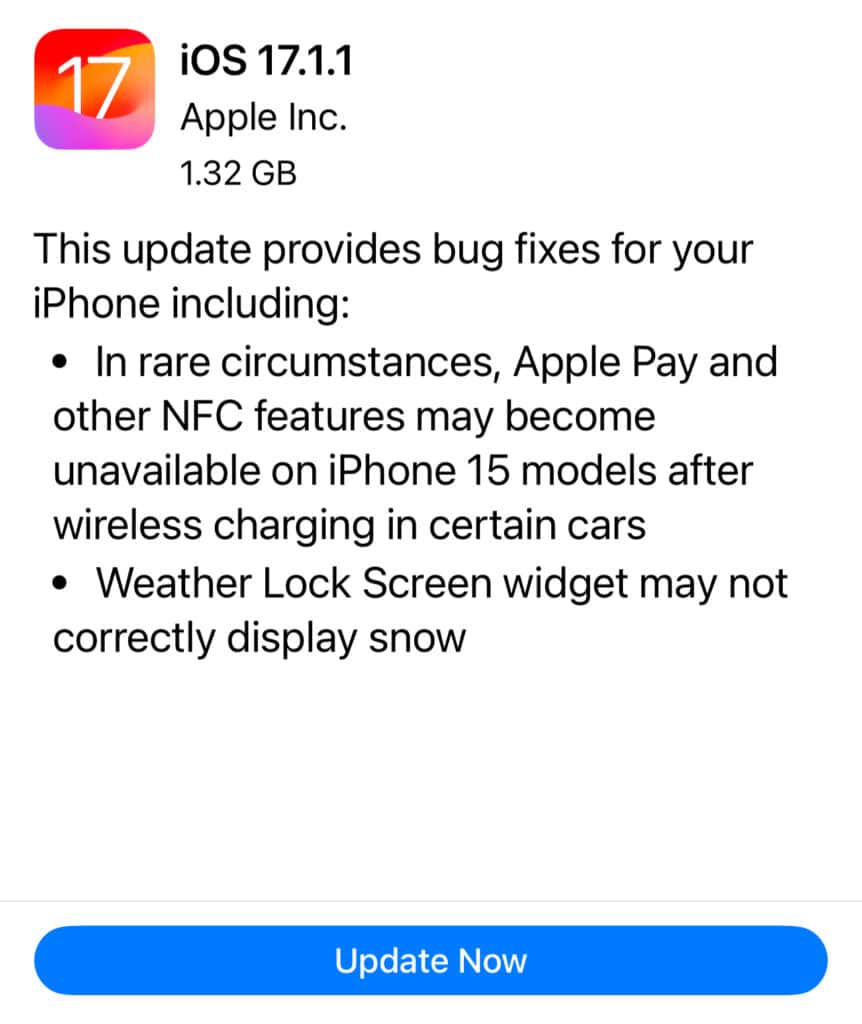
- Open Settings: Tap on the ‘Settings‘ icon on your iPhone.
- Go to General: Select ‘General’ from the settings menu.
- Check for Updates: Tap on ‘Software Update’. If there’s an update available, download and install it. This might take a few minutes, so ensure your device is connected to Wi-Fi and is charged.
READ MORE:
