Slow internet speed can be something that no one would ever want to encounter on their PC. However, there may be instances when you may be suffering from slow internet speed issues on Windows 11, due to which you may not be able to carry on with your work. But, what if I tell you that there are certain tricks to increase internet speed on Windows 11.
Boost Internet Download/Upload Speed on Windows 11
If you want to know how you can increase internet speed on Windows 11, then you are probably at the right place. In this article, we will be discussing how you can increase internet speed on Windows 11.
Limit Bandwidth For Updates
You can try setting the lower bandwidth for uploading and downloading files on Windows 11. This will help you increase the internet speed on Windows 11 if you are experiencing low speed.
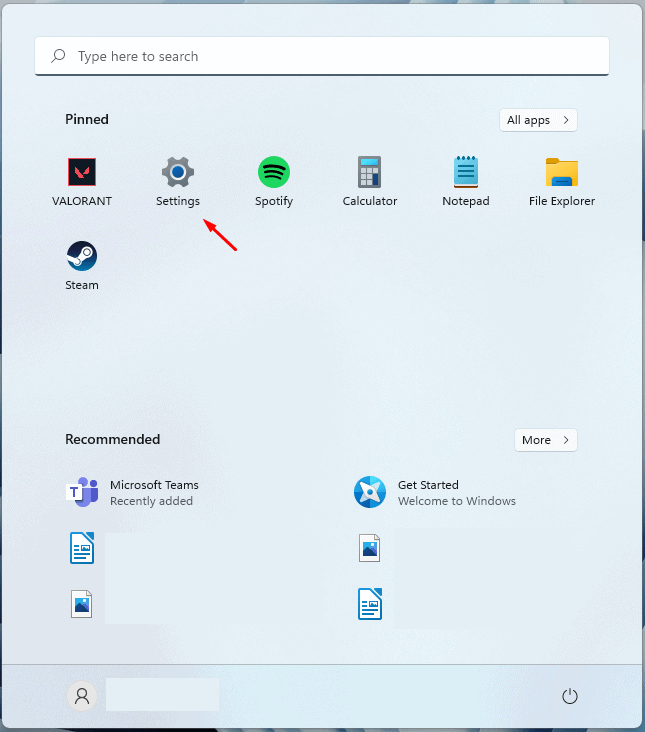
- Firstly, open the Settings on your PC. The shortcut to open the Settings app is pressing Windows + I key combo.
- In the Settings, head to the Windows Update from the left sidebar.
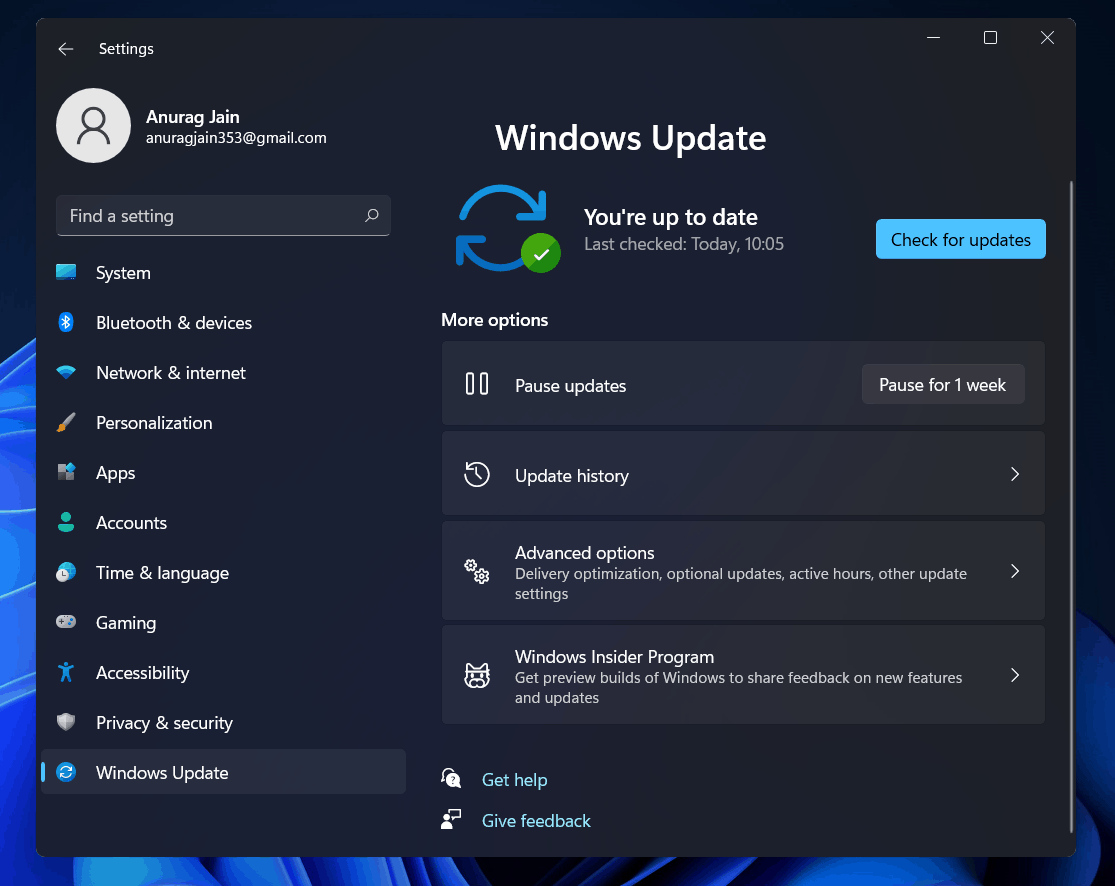
- Here on the right side, click on Advanced options. In Advanced Options, click on Delivery Optimization.
- Now turn off the Allow downloads from other PCs toggle.
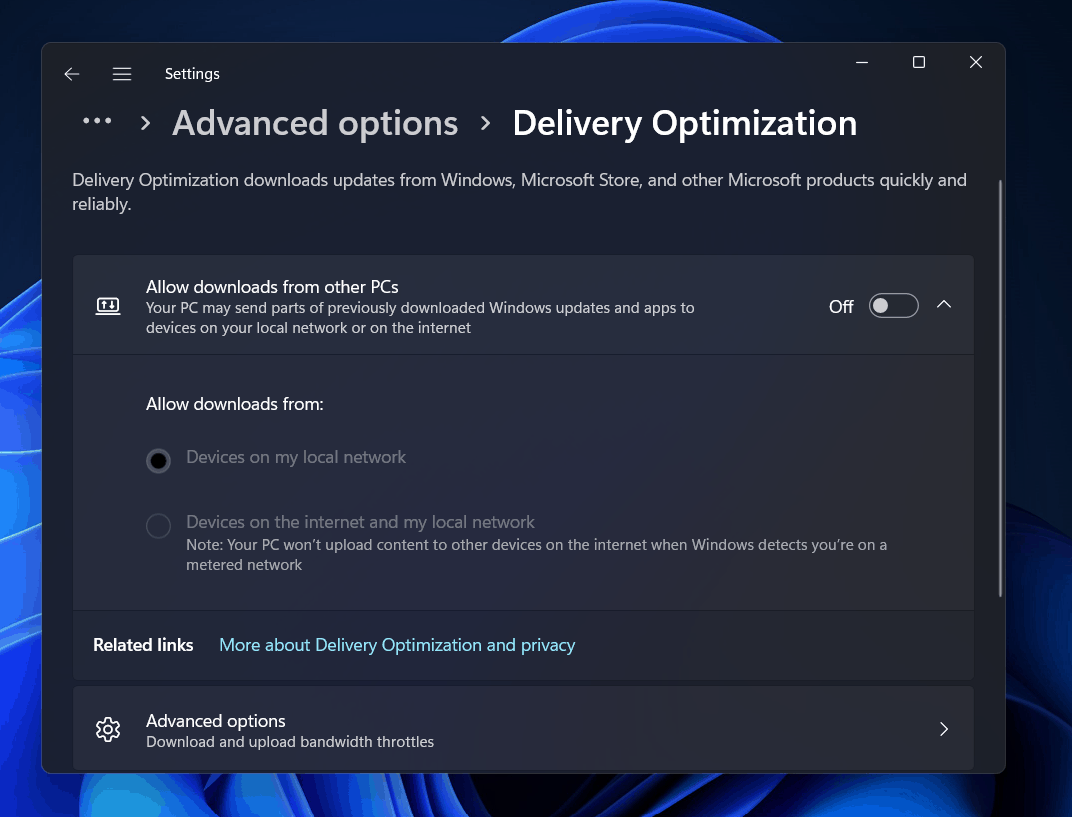
- Under the Delivery Optimization, head to the Advanced Options.
- Select Absolute bandwidth. Here, you will see two boxes, one for limiting the bandwidth for downloading updates in the background and the other for limiting the bandwidth for updates in the foreground.
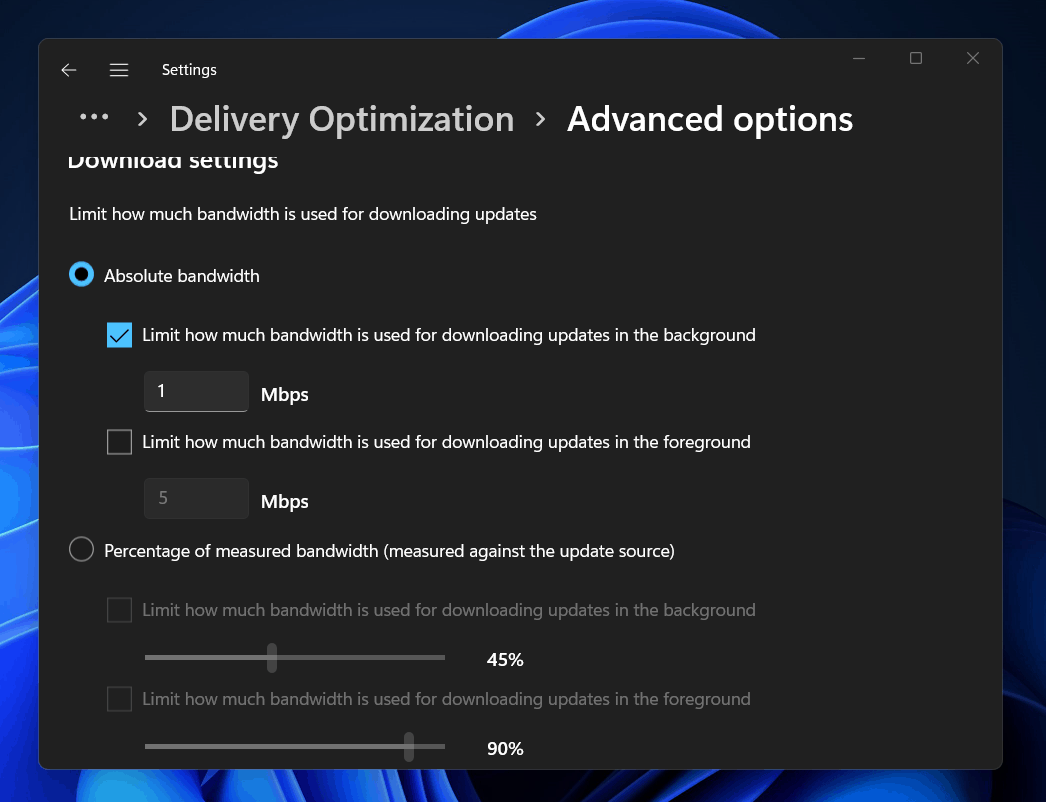
- You can either select the Percentage of measured bandwidth option. Here drag the slider for limiting bandwidth.
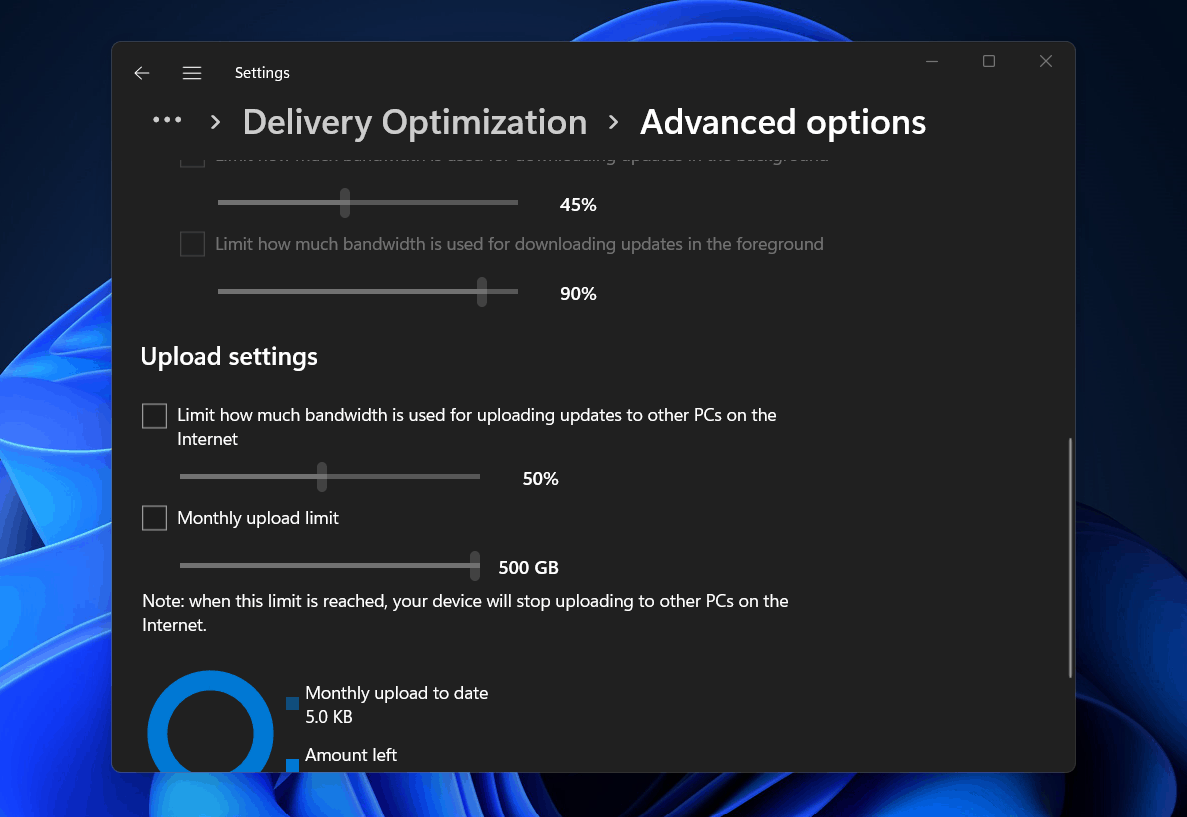
- Similarly, limit the bandwidth for Upload Settings.
- Now close the Settings, and check for internet speed. Your internet speed should be increased by now.
Scan Your PC For Virus
Virus infection on your PC may also be the reason for one to face slow internet speed. If you are PC has a virus or malware, then you may face internet issues. In this case, it would be advised to run an antivirus and malware scan.
You can use Windows Defender to scan your PC for viruses. If you are using a third-party antivirus program, you can also scan your PC for the virus, and the slow internet issue should be solved by now.
Turn Off Metered Connection
Metered connections on Windows limit the internet speed to save your data. If your internet is slow, then it may be because of Metered Connection turned off. You may try turning off the metered connection and then check if you still face the issue or not-
- Open the Settings app and then head to the Network & internet section from the left sidebar.

- Now head to the Wi-Fi section if you are using Wi-Fi, or head to the Ethernet section if you are using a wired connection.
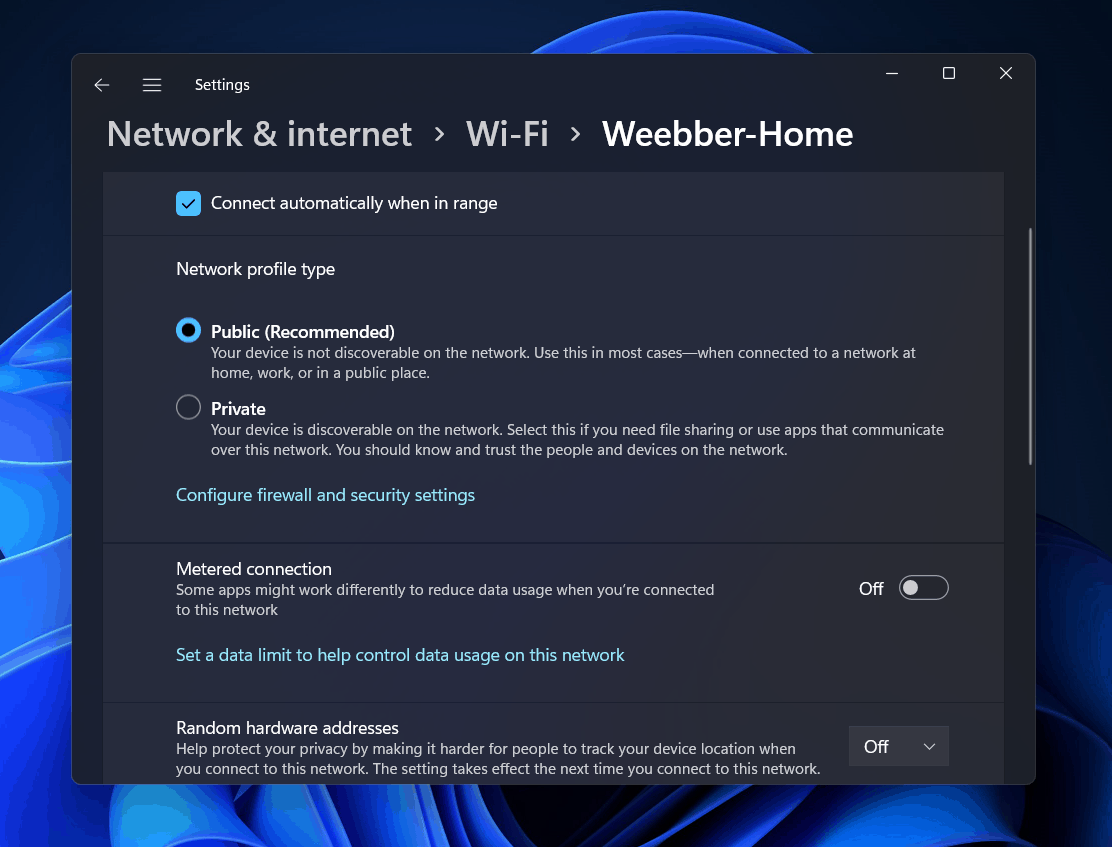
- Now select your internet connection, and then turn off the Metered connection toggle.
End Background Tasks Using Too Much Data
If you have opened up a program using too much data, it may also cause a problem. End the background tasks using too much data, and your internet speed will increase in Windows 11. To end background tasks, follow the steps given below-
- In the Start Menu, search for Task Manager and open it.
- Here head to the Performance tab and then click on Open resource monitor.
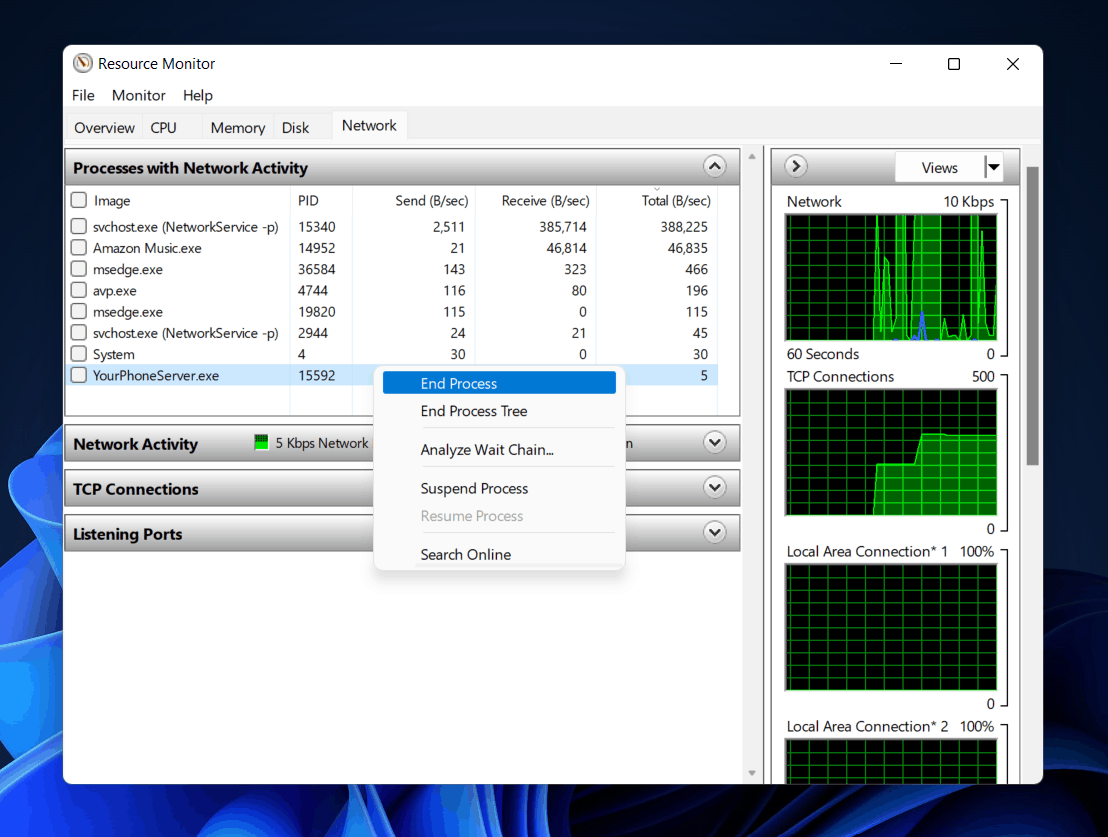
- Head to the Network tab in the Resource Monitor.
- Check which process is consuming too much of your data.
- Select the program consuming a lot of data. Right-click on it, and then click on End process.
- Do this for all the programs/processes consuming a lot of your data.
Change The DNS
If you are still facing a slow internet issue, you should try changing the DNS to increase the internet speed in Windows 11. To change the DNS server, follow the steps given below-
- Press the Windows + R key combo, which will open up Run Dialog Box.
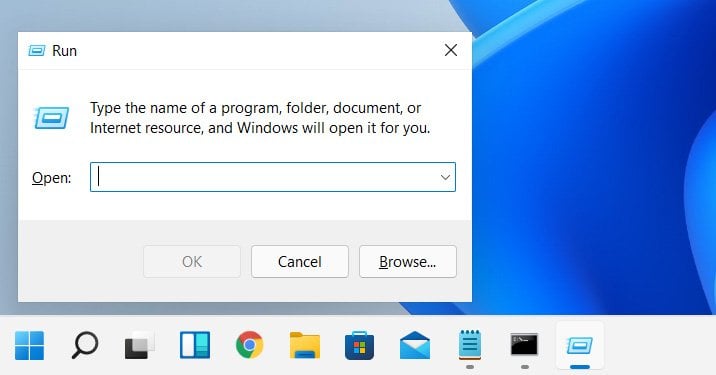
- In the Run Dialog Box, type ncpa.cpl and press Enter.
- You will see a window open up. Here select the network you are connected to. Right-click on it, and then click on Properties.
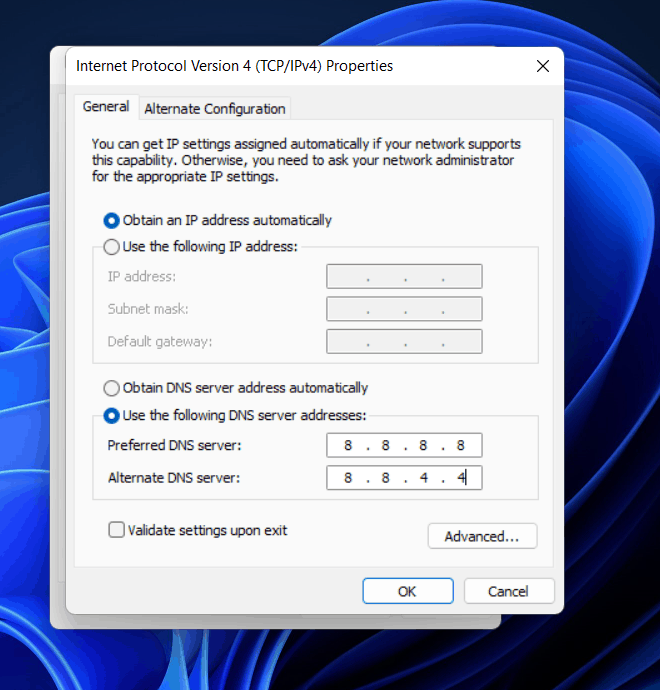
- Select Internet Protocol Version 4 (TCP/IPv4) in the Network Properties window and then click on Properties.
- Here in the second section, select ‘Use the following DNS Server address.
- Now set the Preferred DNS server as 8.8.8.8 and set the Alternate DNS server as 8.8.4.4, and then click on OK.
- Now close all the programs, and restart your PC.
- After restarting your PC, check the internet speed, and it should be increased by now.
Clear Temporary Files
Temporary files may be another reason which can cause slow internet speed issues. You can try clearing the temporary files and cached files on your PC to increase the internet speed. To do so, follow the steps given below-
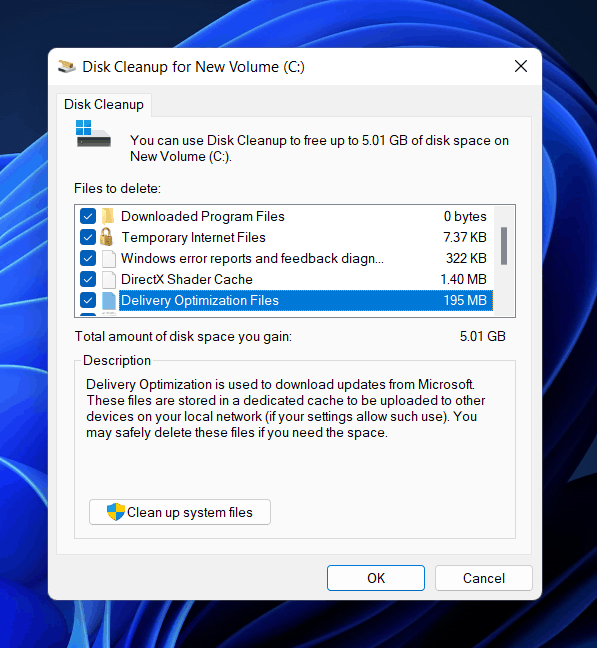
- Press the Windows key on your keyboard, and in the Start menu, search for Disk Cleanup.
- Open the Disk Cleanup and select C drive.
- Now select all the files, and click on OK.
- You will be asked to confirm deleting the files; confirm it. This will delete all the cached files and temporary files.
- Repeat the process once again to clear your PC of all the temporary files, which should increase your internet speed.
Disable The Windows Update Service
Windows Update service maintains the frequency of Windows update. It manages Windows updates and download and installs all the essential updates. However, this may download the Windows updates in the background and may cause slow internet speed. You can try disabling the Windows update service and check if you still face the slow internet issue. Given below are the steps to disable Windows update service-
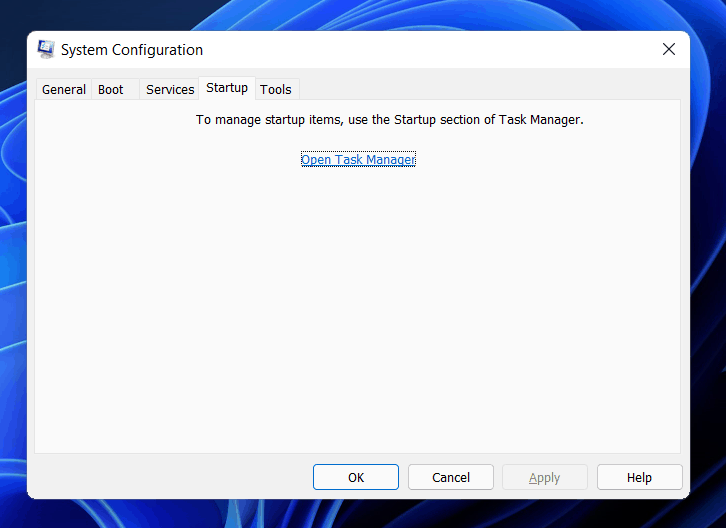
- In the Start Menu, search for Services and open it.
- In the Services, search for Windows Update and select it.
- Right-click on it, then click on Properties.
- Select the Startup type as Disabled in the Windows Update Properties and then click on Stop to stop the service.
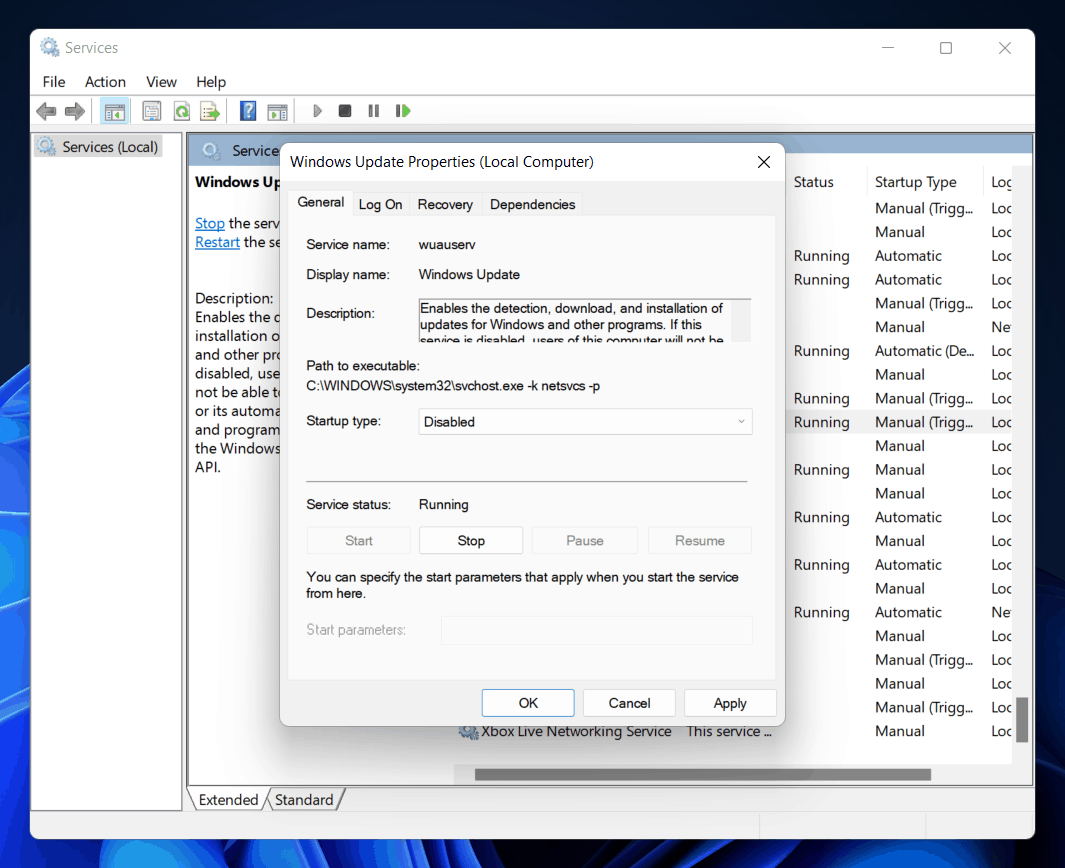
- After doing so, click on OK and close the Services app.
- Restart your PC to save the changes, and you are good to go.
Disable Firewall
The firewall on your PC may restrict the data speed on your PC, and disabling the Firewall will be the solution to fix it. If you are using any third-party antivirus software, it will come with Firewall, and that third-party antivirus software will manage all the Firewall settings. Therefore, you should turn off the Firewall from your antivirus.
If you don’t use any third-party antivirus, then you will have to disable Windows Defender Firewall. To disable Windows Defender Firewall, follow the steps given below-
- In the Start Menu, search for Windows Defender Firewall and open it.
- In the new window that opens up, click on Turn Windows Defender Firewall on or off from the left sidebar.
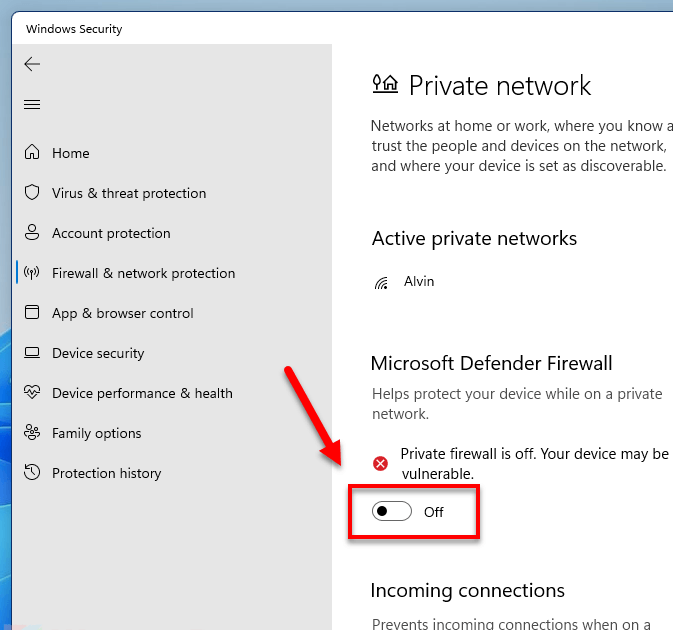
- Select Turn Off Windows Defender Firewall option for Private network settings and Public network settings, and then click on OK.
RELATED GUIDES:
- Fix Windows Cannot Access Shared Folder In Windows 11
- How To Fix WiFi Connected But No Internet Access
- How to Fix WiFi Not Working in Windows 11
Conclusion
These were some basic tricks to help increase internet speed in Windows 11. If you face slow internet speed on Windows 11, you can follow these steps to increase the internet speed in Windows 11.