Is the WaasMedic Agent.exe high disk usage Windows troubling you? This error can make your device overheat or slow down. Many users have complained that their Windows device keeps lagging, and its performance gets degrading day by day due to this. Keep reading to know how you can fix this issue.
Windows Update Medic Service or Waasmedic Agent Exe is an essential component in Windows devices associated with WaasMedicSVC.exe. Its main function is to make Windows updates smoother without causing any disturbances to the user. If updates of any components at turned off, WaasMedic.exe could interfere and enable updates. This can lead your device to high CPU or disk usage.
Fix WaasMedic Agent.exe High Disk Usage Windows 11
WaasMedic Agent.exe was introduced to repair Windows update components so your device can continue to receive updates. If this service starts consuming high CPU or Disk Usage on your device, follow the troubleshooting methods mentioned below to fix it:
Run SFC Scan
Corrupted files on your Windows 11 device can also be responsible for this issue. Run SFC or System File Checker scan to get rid of these corrupted files. Here is how you can do it:
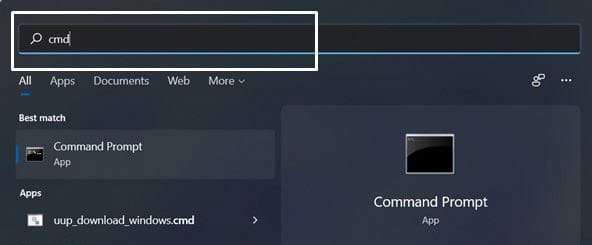
- Click on Start and search for Command Prompt.
- Click on Run as Administrator.
- Type the following command and press Enter.
sfc/scannow
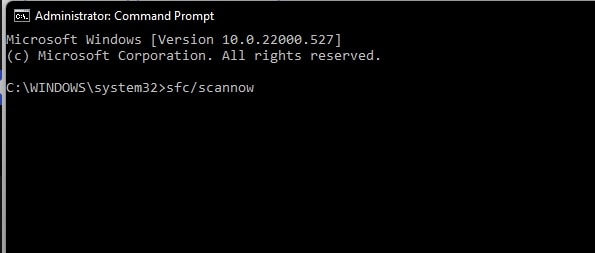
- Restart your device and check if it fixes the error.
Run a DISM Scan
System image corruptions can also cause WaasMedic Agent exe high disk usage in Windows 11 devices. Running a DISM Scan will find and repair system image corruptions. Here is how you can do it:
- Click on Start and search for Command Prompt.
- Click on Run as Administrator.

- Type the following command one by one and press Enter.
DISM /Online /Cleanup-Image /CheckHealth
DISM /Online /Cleanup-Image /ScanHealth
DISM /Online /Cleanup-Image /RestoreHealth
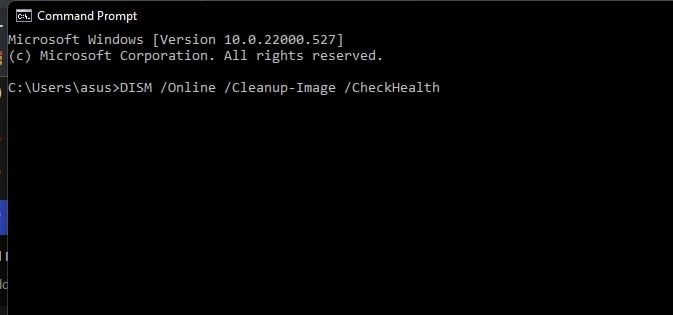
- Restart your device and check if the problem is resolved.
Disable Third-Party Antivirus
Third-party antivirus software installed on your device can also be responsible for High Disk and CPU usage. Disable the antivirus software and check if the WaasMedic Agent exe error is solved. If disabling the software doesn’t work, uninstall the antivirus software temporally and check for the same.
Turn off the Startup of the WassMedic Agent
You can resolve this error by turning off the startup of the WaasMedic Agent. Make sure not to make any wrong changes in the registry editor, as it can crash your computer. Follow these steps to get your work done:
- Press Windows key + R to open the Run dialogue box.
- Type Regedit and press Enter.
- Navigate to the following location, the Registry Editor.
Computer\HKEY_LOCAL_MACHINE\SYSTEM\CurrentControlSet\Services\WaaSMedicSvc
- Double click on Start in the right-pane to edit it.

- Set the Value Data to 4.

- Click on Ok to save changes.
- Restart your device and check if the issue is resolved.
Disable the WaasMedic Agent Using Task Scheduler
The Task Scheduler automatically starts up the WaasMedic Agent every time your device reboots. Disabling it can sometimes help fix this issue. Here is how you can do it:
- Click on Start and search for Task Scheduler.
- Click on Open.
- Navigate to the following location once you’ve opened Task Scheduler.
Task Scheduler Library -> Microsoft -> Windows -> WaasMedic
- In the right pane, check if any tasks are scheduled to execute.
- Right-click on the task and select Disable.

- Once done, restart your device, and WaasMedic won’t run on your device.
Reset Your Device
If none of those mentioned above steps solved your problem reset your Windows 11 device. Sometimes there is a problem with Windows core files that you cannot verify manually. Follow these steps to reset your device:
- Click on Start and go to Settings.
- Next, click on Windows Update and select Advanced Options in the right pane.
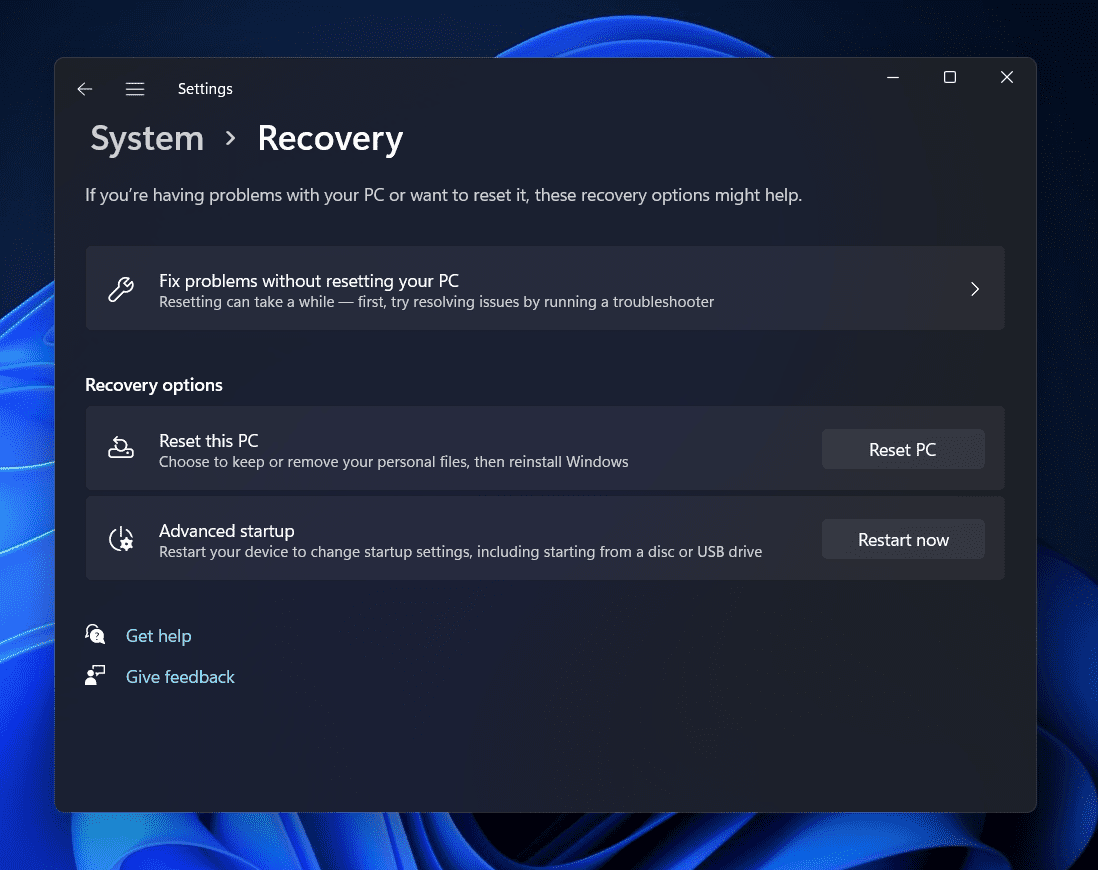
- Scroll down and click on Recovery.
- Finally, click on Reset this PC and follow the instructions on the screen.
Wrapping Up
This was how you can fix WaasMedic Agent.exe high disk usage Windows 11. We hope that the troubleshooting methods mentioned above were able to help you. Still, if you have any issues, feel free to drop a comment below or visit Microsoft Help Centre.
RELATED GUIDES: