0x80071AB1 is a .NET framework error that many Windows 11 users have reported. Users encounter this issue when trying to install the .NET framework on their PC. Multiple applications require the .NET framework to function properly. However, these apps will not work properly in Windows 11 due to the 0x80071AB1 error. If you are experiencing this error in your Windows 11 PC, then this article will walk you through the process of fixing it.
Fix Windows 11 Update Error Code 0x80071AB1
Here, We will discuss how to fix the 0x80071AB1 update error code in Windows 11.
Run SFC Scan
Running the SFC scan is the very first thing you should try. SFC, or System File Checker, scans your computer for and fixes all issues caused by corrupted files. The 0x80071AB1 error code is frequently caused by corrupted files, which can be resolved by running the SFC scan. Follow the steps below to run the SFC scan:
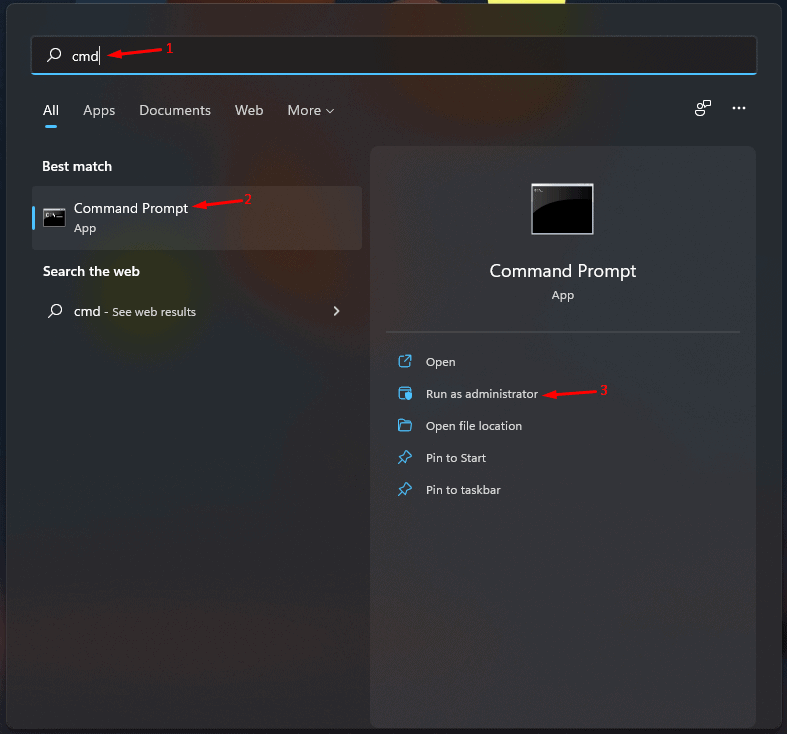
- Press the Windows key on your keyboard to open the Start Menu. In the Start Menu, search for CMD. Right-click on the Command Prompt, and then click on Run As Administrator.
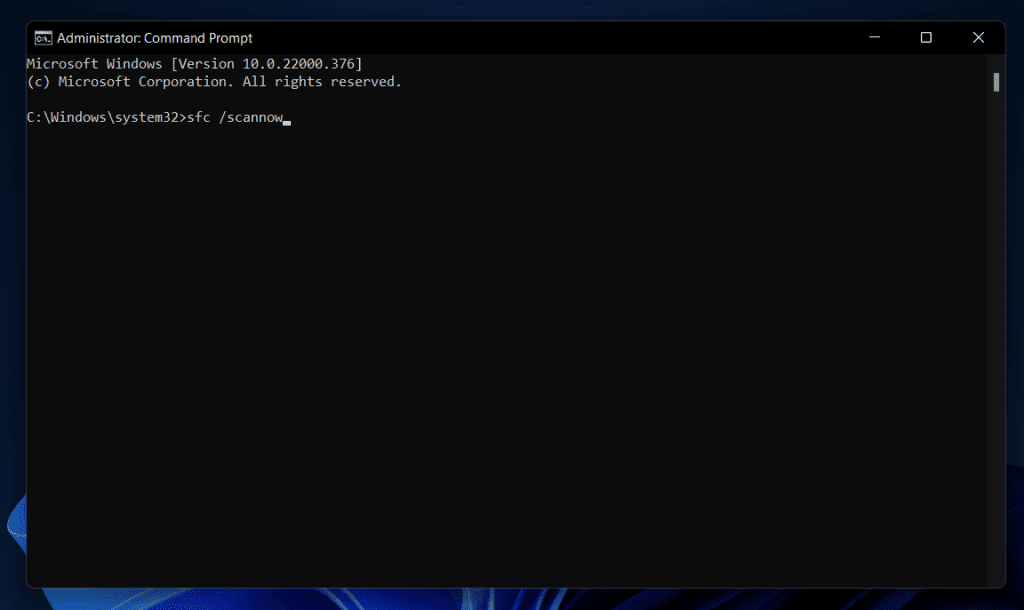
- In the Command Prompt, type the command sfc /scannow and hit Enter to execute the command.
- Command Prompt will now run the SFC scan. Wait for the process to complete, and then close the Command Prompt. Restart your PC, and the issue should be fixed.
Update Windows
If your PC has pending updates, or if your Windows is outdated, then also you are likely to face a 0x80071AB1 error in Windows 11. Try updating your Windows and then check if you still face the issue or not. To update Windows, follow the steps given below-
- Press the Windows + I key combo to open the Settings app on your PC.
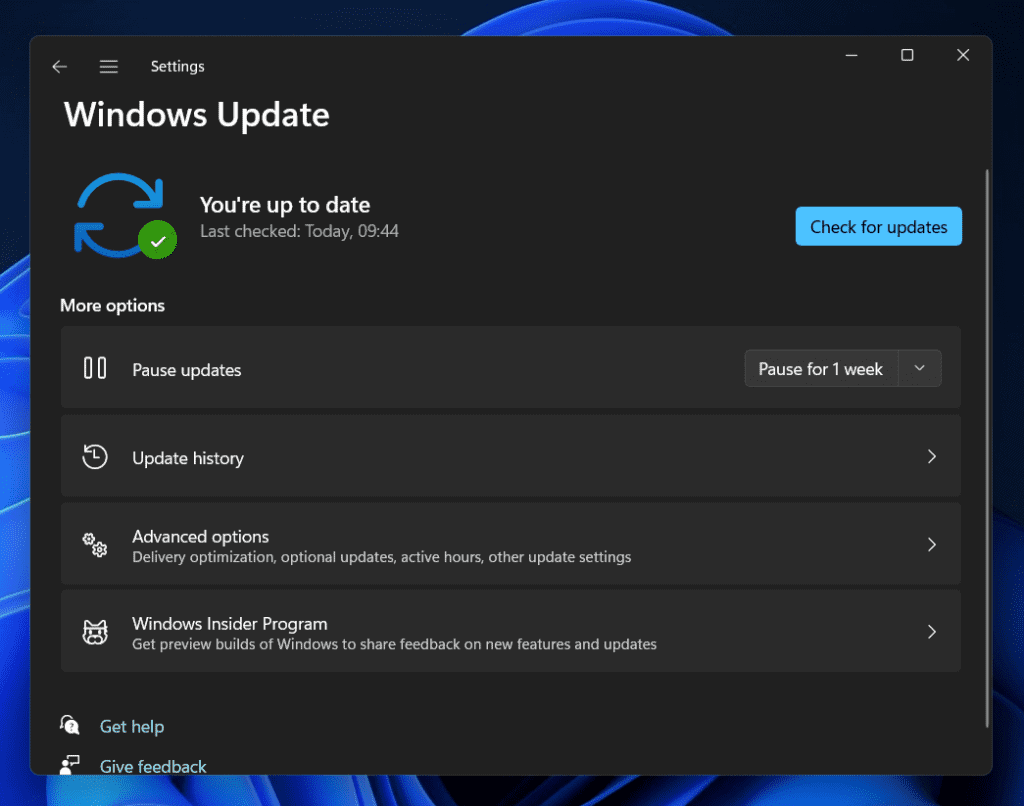
- In the Settings app, head to the Windows Update section from the left sidebar.
- Now on the right side of the Windows Update tab, click on Check For Updates button.
- Download and install all the updates your PC finds and then check if the issues persist or not.
Run The Windows Update Troubleshooter
Another thing that you can try doing is running the Windows Update troubleshooter. To run the Windows Update troubleshooter, follow the steps given below-
- Open the Settings app on your Windows 11 PC by pressing Windows + I key combo.
- On the right side of the System section in the Settings app, click on the Troubleshoot option.

- Now, click on the Other Troubleshooters option.

- Next, search for Windows Update. Click on the Run button next to the Windows Update.

- Follow the on-screen instructions to run the Windows Update troubleshooter and fix the issue.
Run Windows Update Service
If you still face the 0x80071AB1 error code in Windows 11, then try running the Windows Update Service. To run Windows Update Service, follow the steps given below-
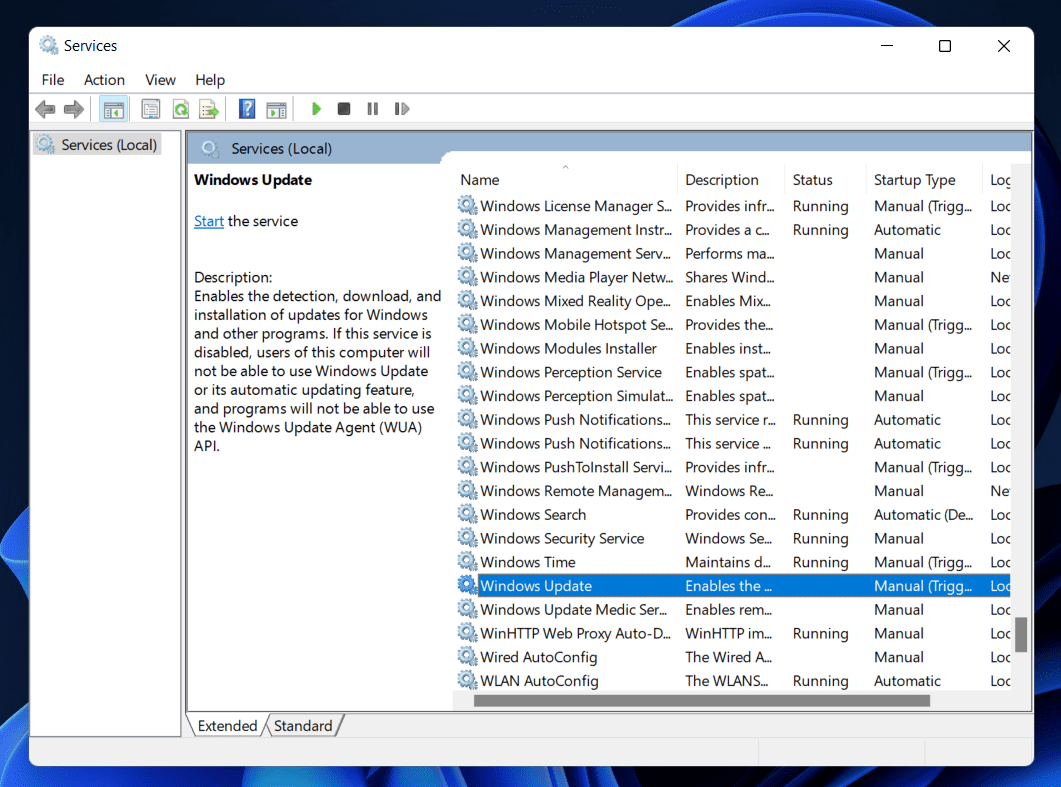
- Open the Start Menu by pressing the Windows key. In the Start Menu, search for Services and hit Enter to open the Services app window.
- In the Services app window, search for Windows Update. Double-click on this service to open its properties.
- Select the Startup type as Automatic and then click on the Start button.

- Once done, click on Apply and then click on OK to save the changes.
Perform In-Place Upgrade
If none of the above steps helped you solve the 0x80071AB1 error code in Windows 11, then the last option for you will be to perform an in-place upgrade. To do so, follow the steps given below-
- Download the Media Creation Tool for Windows 11, and create a bootable media drive using it.
- Plugin the bootable media drive in your PC, and then open the bootable media. Next, double-click on the Setup.exe file to launch it.
- Confirm the UAC when asked to. Next, click on the Change how Setup downloads updates.

- Next, click on Not right now, and then click on Next.
- When given the license terms, click on Accept button to accept.
- Next, click on Change what to keep, and then select Keep personal files and apps, and then click on Next.
- Once done, click on Install and then the in-place upgrade will be installed on your PC.
RELATED GUIDES:
- How To Fix 0x8000ffff Error Code In Windows 11
- Fix Installation Error 0xc1900101 in Windows 11
- Fix Update Error 0x80070643 in Windows 11
- Fix Mail App Error Code 0x8019019a in Windows 11
Conclusion
This is how you can fix the 0x80071AB1 error in Windows 11. Following the above steps, you will be able to fix the 0x80071AB1 error in Windows 11. We hope this article helps you with what you are looking for.