Split-screen is a feature meant for people using multiple apps simultaneously. Using this feature, you can divide your screen into two parts or more than that with each part being used by the particular app that you want to open. This feature has been available in Windows for a very long time, but it will be limited with the number of screens you can divide. Earlier, it was only possible to divide your screen into two parts if you wanted to use two apps simultaneously. However, Windows 11 introduced new split-screen options to let users open more than two screens.
Windows 11 renamed split-screen to snaps layout and introduced multiple screen setup with it. You can now set up to four screens in Windows 11, and work on four apps simultaneously.
Windows 11 Split Screen Not Working? Here’s How to do it
You will have to enable this feature in Windows 11 if you want to use it. If you do not enable it then you will only be able to use the dual-screen in a split-screen setup. If you don’t know how you can do that, then this article will guide you with that. Here we will be discussing how you can enable split screen in Windows 11.
Enabling Snaps Layout In Windows 11
Before you can use split-screen or the new snaps layout feature in Windows 11, you will have to ensure that you have enabled this feature on your PC. To enable snaps layout in Windows 11, follow the steps given below-
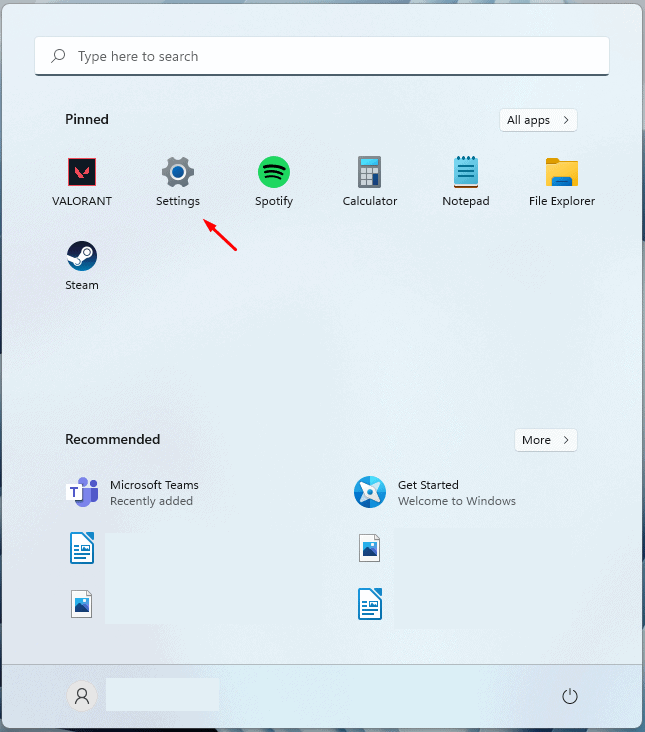
- You will have to enable this feature for the Settings app. So, open the Settings app by pressing the Windows + I key combo. You can either press the Windows key, and then in the Start Menu, search for Settings and open it.
- Now on the Settings ensure you are on the System section. By default, you will be on the System section, but if you are not on it, then click on System from the left sidebar.

- Now on the right-side, click on Multitasking. Here you will see an option called Snap Windows. Enable or turn on the toggle for it.

- After you enable this toggle, you will get various other options that can enable you to change how the snaps layout works in Windows.
Using Split Screen In Windows 11
After you have enabled snaps layout in Windows 11, you can use it without any problem. There are two ways to use the split-screen, either by the keyboard shortcuts or by hovering over to the maximize button.
- Hover over the maximize button, and do not click on it. You will now see different snaps layout options that you can use. In smaller screen laptops or if you are using a monitor with a smaller screen then you may only see four options.
- But if you have a laptop or a monitor with bigger screen size, then there will be more than four options here. These snaps layouts are as follows-
- Dual Screen- Here you can set up a two-screen layout on Windows and use two apps simultaneously.

-
- Triple Screen- In this type of setup, you will have three screen layouts and you will be able to use three apps at once.

-
- Four Screen- This setup has four screen layout, with all the screens arranged in a collage of equal size. You can use four apps at once in this setup.

- You have to click on any one layout, and you will see your screen arranged accordingly.
- You will have to select the app for each screen set up in the split-screen. You can leave the screen empty. When you open a new app on your PC, you will be asked whether you want to use it in split-screen mode or not.
- These apps will be grouped, and if you switch to another app, then you can revert to the setup from the Task View.
This is how you can use the Snaps layout by hovering over to the maximize button. You can also use keyboard shortcuts. You will have to press Windows + (Up, Down, Left, Right) Arrow. This will arrange the screen accordingly.
- Windows + Up– This will maximize the app window.
- Windows + Down– This will minimize the app window.
- Windows + Left+ This will bring the app window to the left.
- Windows + Right- This will bring the app window to the right.
- Windows + Right + Down- This will arrange the app window at the bottom right corner.
- Windows + Right + Up- This will bring the app window to the top right corner.
- Windows + Left + Down- This will arrange the app window at the bottom left corner.
- Windows + Left + Up- This will bring the app window to the top left corner.
RELATED GUIDES:
- How To Fix Rounded Corners Disabled In Windows 11
- How To Stop Windows 11 From Using So Much Data
- How To Change Public VPN To Private In Windows 11
- Fix Windows Defender Not Working in Windows 11
Conclusion
This is how you can enable and use split-screen in Windows 11. Following the steps mentioned in this article, you will be able to use the split-screen or the snaps layout in Windows 11 easily.