PC gamers are experiencing an issue where, while playing any game on their Windows 11 computer, they run into a bug that causes the game to halt abruptly in mid-flight. DXGI ERROR DEVICE REMOVED is the error message that appears after that.
DXGI_ERROR_DEVICE_REMOVED occurs when your computer’s graphics card isn’t functioning properly or there’s a connectivity problem, an error will occur. If this is a problem for you. There are quick fixes for the problem that is also quite simple and shared in this article.
DXGI_ERROR_DEVICE_REMOVED Error Fixed for Windows 10/11
Update Graphics Driver
You must upgrade your graphics card drivers before using this fix. The Optional Updates section of Windows Update is where you can find the latest graphics driver updates, or you can manually update them using the Device Manager. The maker of your video card’s hardware likely has a website where you may obtain the most recent driver.
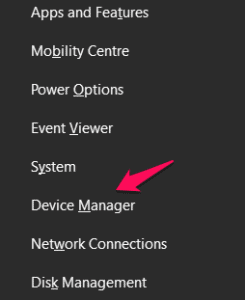
- First, go to your start menu and enter Device manager.
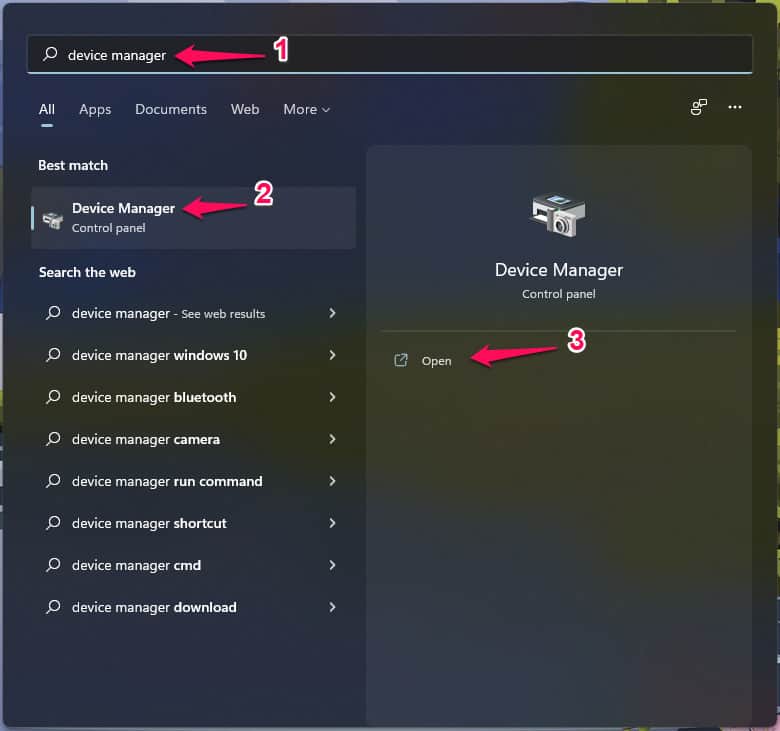
- Open your device manager.
- Extend Display Adapters.

- Right-click your display adapters.
- Select Properties.
- Visit the Driver Tab.
- Select “Update Driver“
- Select Automatically search for Driver Software.
- Wait for the update to be installed.
Additionally, you can use the Windows Update search feature to find updated drivers.
If updating the drivers didn’t work, you can use Display Driver Uninstaller to completely remove the graphics driver, download the most recent driver, and install it on your Windows computer.
Modify The Registry
Since this is a registry procedure, it is advised that you take essential precautions by backing up the registry or setting up a system restore point. When finished, move on as follows:
- First, open start and type Regedit.
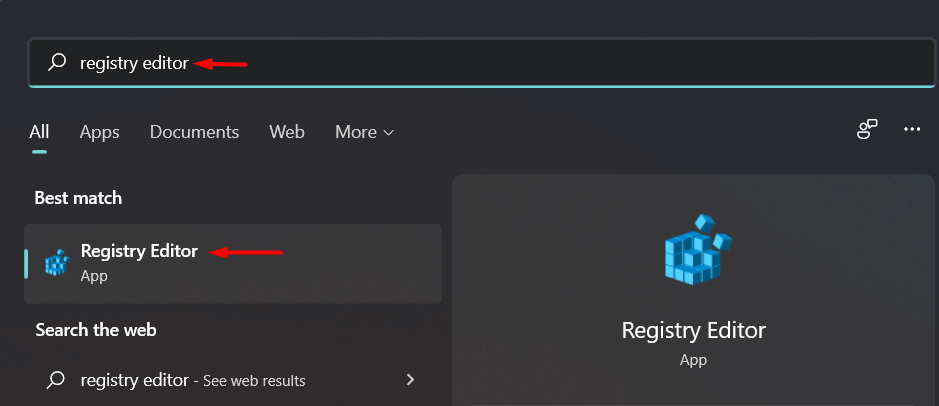
- Open Regedit.
- Press yes.
- Expand HKEY_LOCAL_MACHINE.
- Expand System.
- Expand Current Control Set.
- Expand Control.
- Select Graphics Drivers.

- Right-click on the empty area on the right-hand side, select “New>,” and then select “D-Word (32-bit) Value.”

- Give this key the name “TdrLevel.”

- Double-click on this key to adjust the delay’s value.
- Put “0” into the Edit DWORD (32-bit) Value window.

- Next, select “OK.”
To make this update effective, close the Registry Editor window and restart your device.
You won’t experience the issue once more after restarting.
Turn Off Shadow Play
The majority of the DXGI ERROR DEVICE REMOVED error-affected customers have NVIDIA graphics cards installed on their Windows laptops; on compatible systems, NVIDIA Shadow play is utilized to record in-game footage.
You must disable Shadow play in order to find this solution. How to do it is as follows:
- Search for the “GeForce Experience“.
- After that, select “GeForce Experience” from the search results.

- Go to the “General” tab in the GeForce Experience window.
- After that, deactivate the “IN-OVER OVERLAY” settings.

- Shut down the GeForce Experience window.
Make sure the problem has been fixed. If not, move on to the next option.
Turn off the anti-aliasing function.
Graphics software frequently uses the anti-aliasing technique to enhance the output display’s quality. However, some users claimed that this feature could result in the “DXGI error not now available” problem. In this situation, you can disable it from the NVidia Control Panel.
On your Windows computer, follow these steps to disable the anti-aliasing feature:
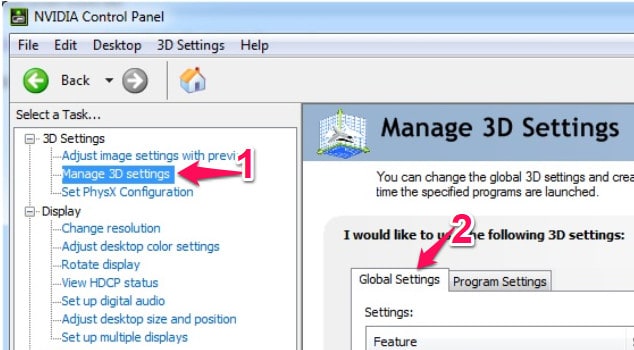
- Right-click the empty area on your desktop and select NVidia Control Panel.

- Select “Manage 3D settings” on the left-hand side of the Control Panel once it has appeared.
- Next, select “Global settings.”
- Now, you’ll see a number of “Antialiasing” features here.
- Select “Off” under the “Antialiasing-FXAA” option.
- Likewise, set “Off” for all of the “Antialiasing” options.

- To make these settings effective, next click “Apply.”
Shut off the program. Check to see whether the issue is still present after restarting your computer.
Reinstall Graphics Adapter after Uninstalling it
- Use your keyboard’s Windows key and the X key together.
- To get to the program, simply click on “Device Manager.”
- Expand “Display adapters” when you see the list of drivers.

- To remove the driver from your computer, right-click on it and select “Uninstall device.”

- If a confirmation prompt appears before uninstalling the graphics driver, simply click “Uninstall.”
- Restart your computer once the driver has been removed.
The driver on your computer will be reinstalled if you reboot your device.
Your problem should now be resolved.
Check Hardware Settings
Users perform a variety of routine tasks to keep their computers in good working condition, especially if they use them for graphically demanding tasks like playing games or editing HD videos. Perform the following tasks or tests before you start anything:
- Remove your dedicated graphics card from its slot and dust it off.
- Keep your computer away from enclosed spaces to allow for better airflow.
- To prevent overheating, increase the GPU’s cooling setting to at least 70%.
- If you are overclocking your graphics card, stop.
- Your in-game settings should all be on low.
Ensure that your graphics fulfill the game’s basic requirements.
Conclusions
The goal of this post is to assist you in resolving the DXGI Fault DEVICE REMOVED error on Windows 10/11. We sincerely hope that this approach is useful to you. Have you been able to resolve it? Please let us know in the comments section below.
RELATED ARTICLES:
hello im using graphic card nvidia nvs 315 and i have tried all in this post and i still have the same problem would you please help me